


Worm Poo, do your plants love it?
With my Master Gardener™ Apprentice Project I hoped to show whether or not feeding plants using worm castings (also called vermicompost) and worm casting tea resulted in healthier, more productive plants.
I started with two beds, each receiving the same amount of sunlight and having the same growing conditions, as well as starting with the same soil type and nutrient density in each bed. I planted the same plants in the same location in each bed: 1 Tomato, 1 Zucchini, 5 Green Beans, 1 Pepper, 2 Cilantro.
I already had an “under the counter worm bin” that was home to red wigglers as well as an old cooler that I used as another worm bin, so I had access to plenty of worm castings to use. I feed them garden scraps as needed and topped them with dried plant material and a layer of cardboard.
When I planted the Worm Bed I included a handful of worm castings into each planting hole, I also scuffed worm castings into the top of the soil around each plant; the control bed was planted directly into the existing soil with no added fertilizers.
I added more worm casting to the worm bed 3 times during the growing season, about once a month I would scuff a handful of worm castings into the soil around each plant. I also watered it with worm casting tea at least once a month. Both beds received the same amount of water throughout the season.
The final produce count for each bed:
Worm bed: 44 Green Beans, 6 Zucchini, 1 bunch of Cilantro, 3 Tomatoes, 1 Pepper,
Control Bed: 31 Green Beans, 3 Zucchini, 1 Tomato,
The worm bed produced more on each plant, the plants grew
faster as well, though this slowed down around the middle to the end of season.
I never noticed any pests on any of the plants so I can’t say if the worm bed was more pest resistant or not but in the last few weeks the tomato in the worm bed has begun to look sickly; yellowing and dying leaves, and now mold has started to grow on it’s main stem. This could be due to over-watering but with so many people in and out of the garden it’s hard to tell.
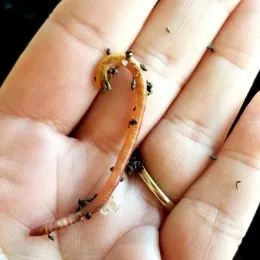
Red Wiggler—Eisenia andrei
Overall, I think that the worm bed produced healthier, faster growing plants; they produced more and started producing sooner than the control bed. Worms are easy to feed and care for and make a safe and easy to use nutrient boost for your plants! They don’t require much attention other than occasional feedings, and they like to eat most garden and kitchen scraps.
To set up your own worm bin:
Images Courtesy of Oregon State University Extension Service.
You can find out more about worm casting composting here:
https://extension.oregonstate.edu/catalog/em-9034-composting-worms