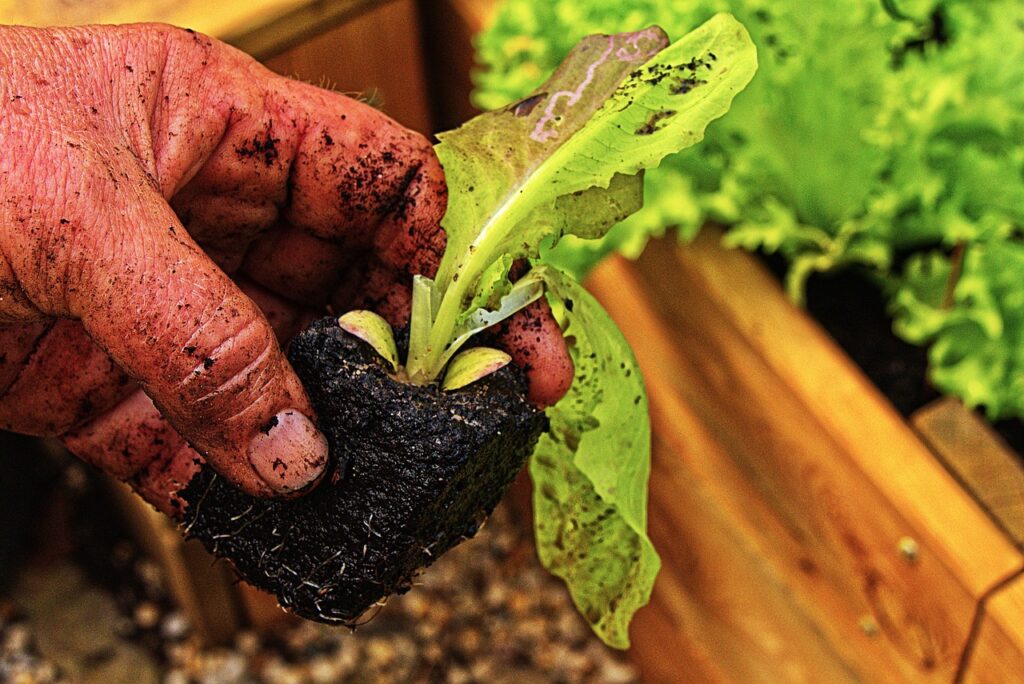
In this edition of the Lincoln County Gardner, guest host Larry King talks with Master Gardeners Kathy Burke and Terry DeJongh about a series of classes the the Lincoln County Master Gardeners are presenting to help everyone grow vegetables at home..
During the series you'll go from seed selection all the way through the growing season. Featured image by Joe Kline, by permission. Lettuce planting Image by Wolfgang Eckert from Pixabay.
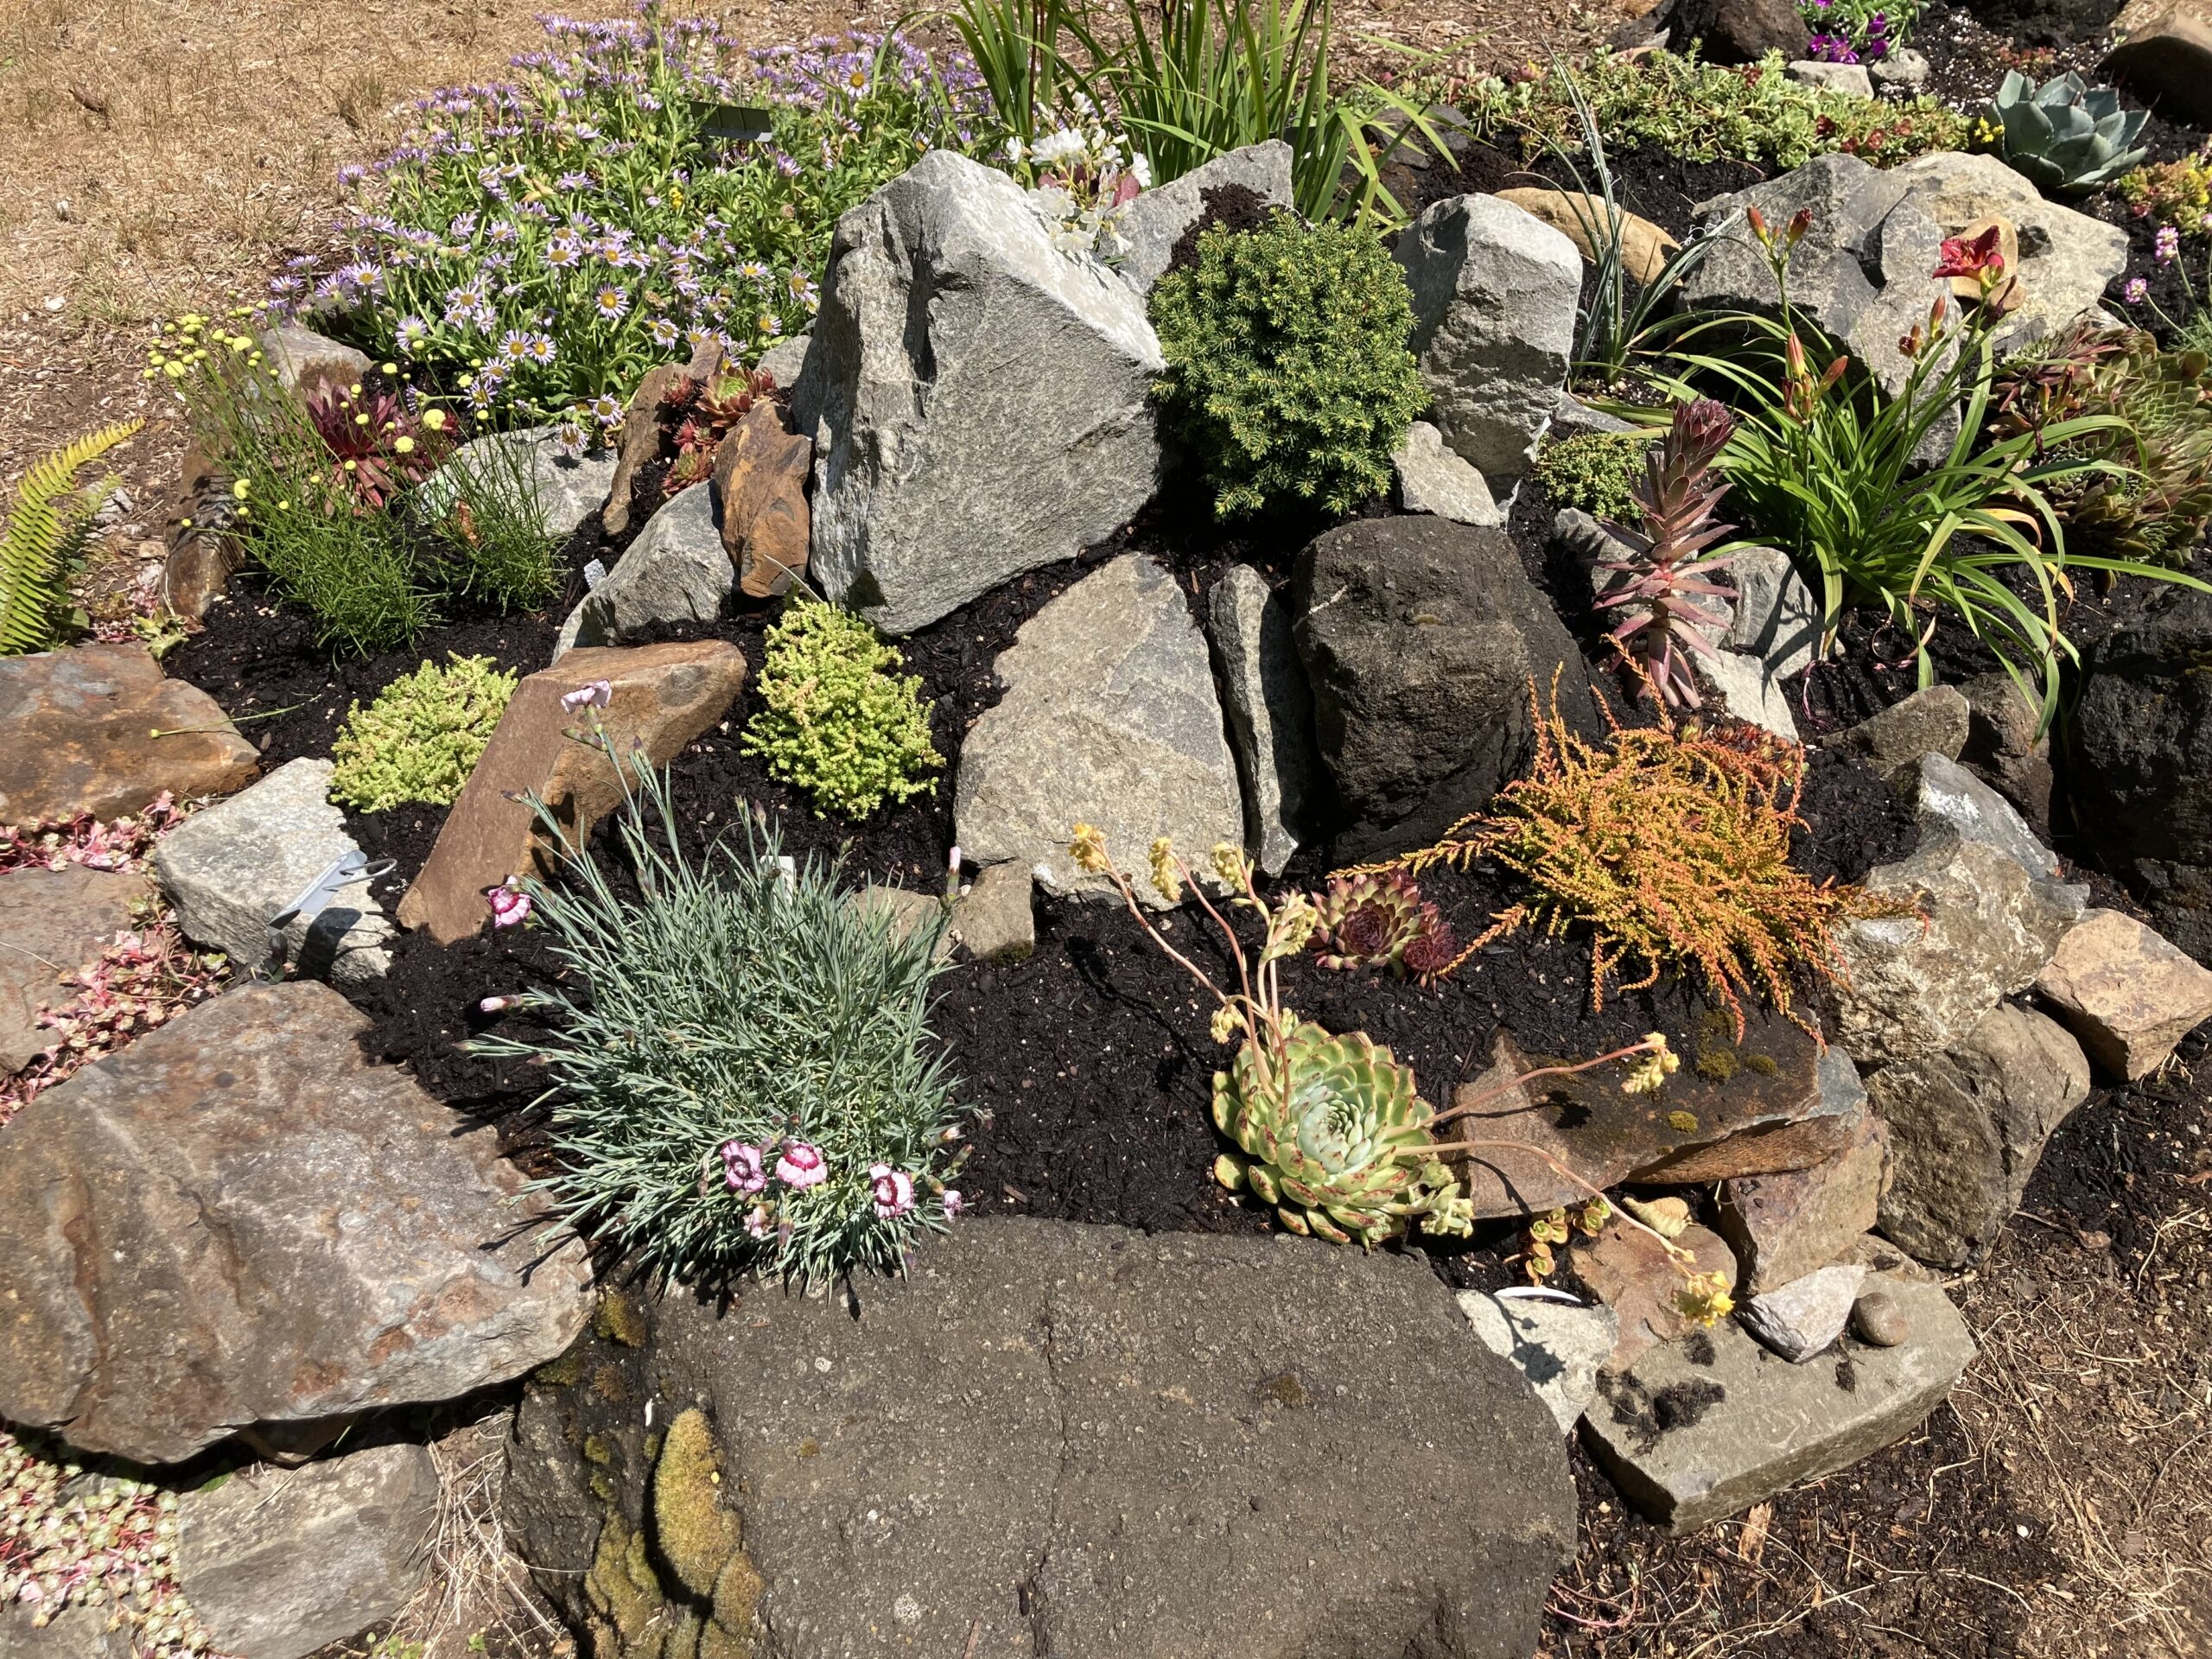
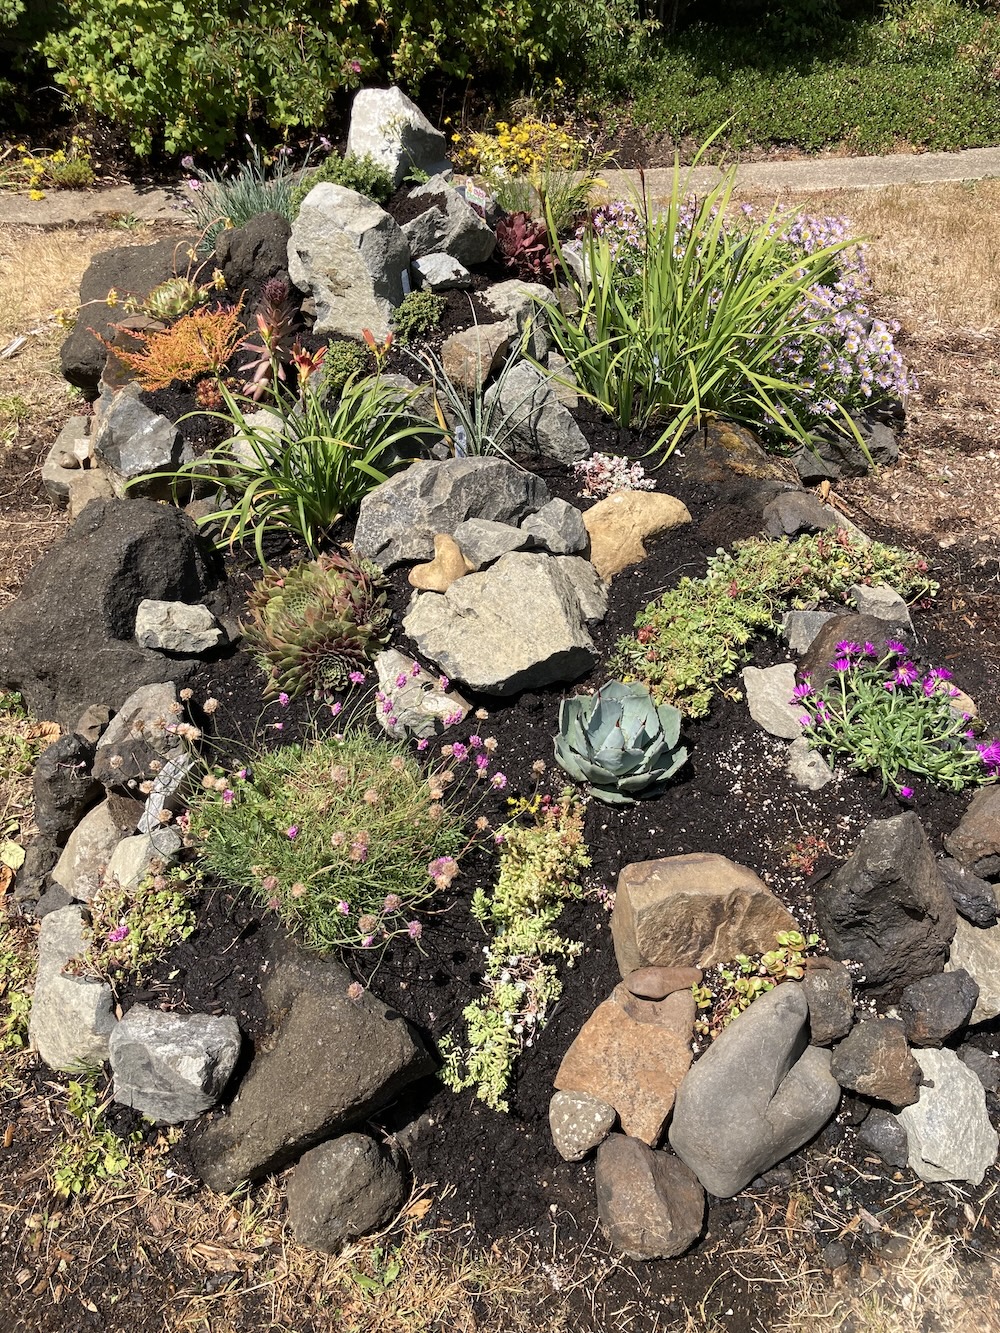
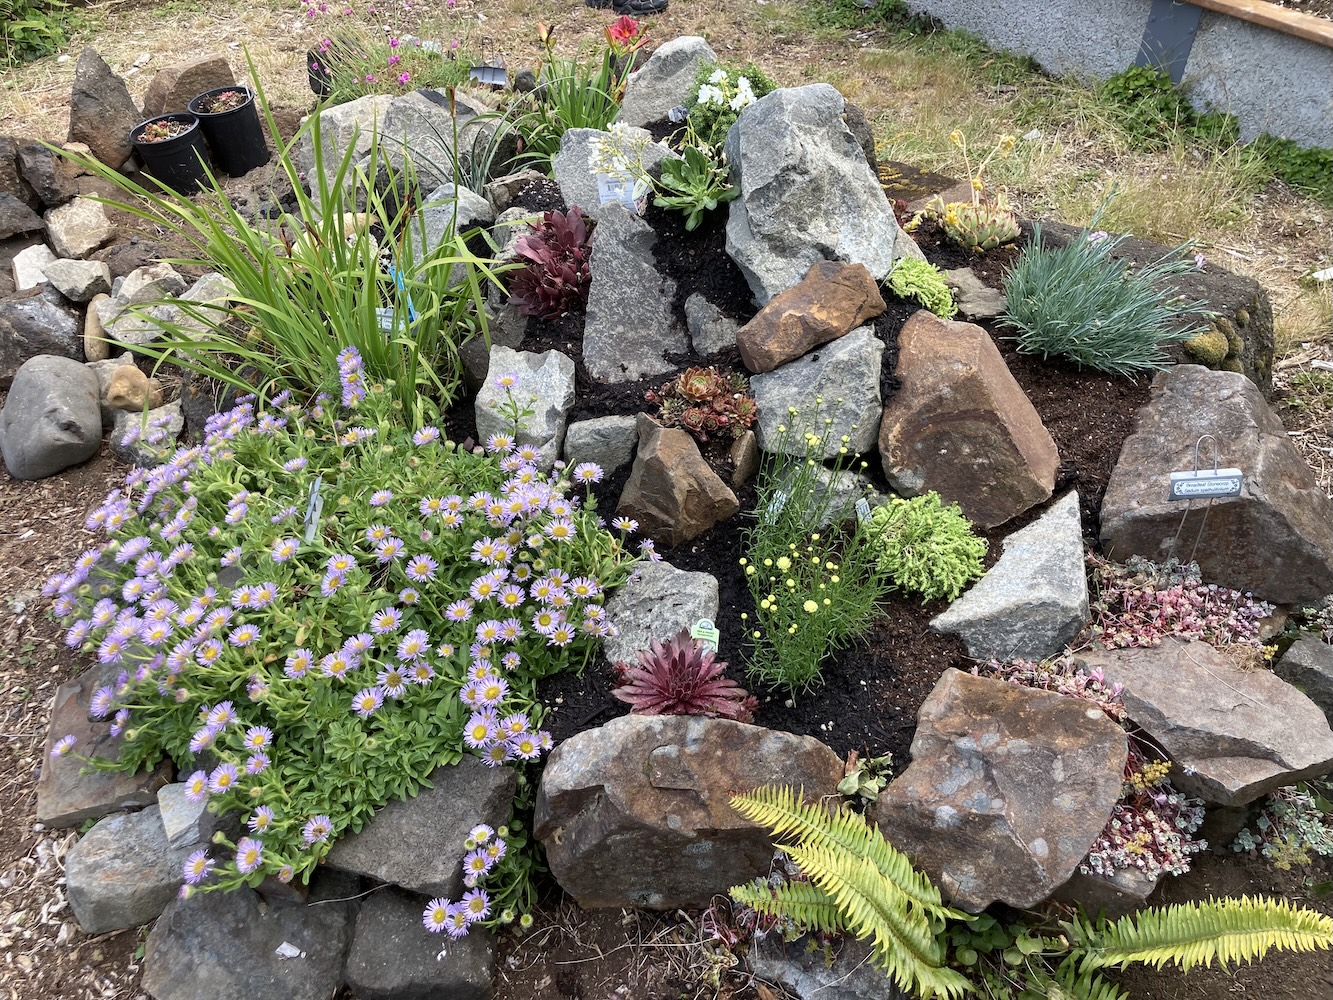
In this edition of the Lincoln County Gardner, Ross McCann talks with Master Gardener Larry King about rock gardens. Learn about the many types of rock gardens and the basics of construction and plant selection.
Here's a photo of the refurbished rock garden in the South Beach OSU demonstration garden. Note the rocks (underpinned by cement blocks) to give height and interest in the background. All photos by Larry King and used with permission.
The view from the other side shows how we incorporated some of the existing native plants: Seaside Daises (Erigeron glaucus left, lower) and Oregon Iris (Iris Tenax left, upper). In the center of the picture, with small yellow flowers is Lavender Cotton (Santolina chamaecyparissus). It soon took over the end of the rock garden and needed regular pruning to keep it in check.
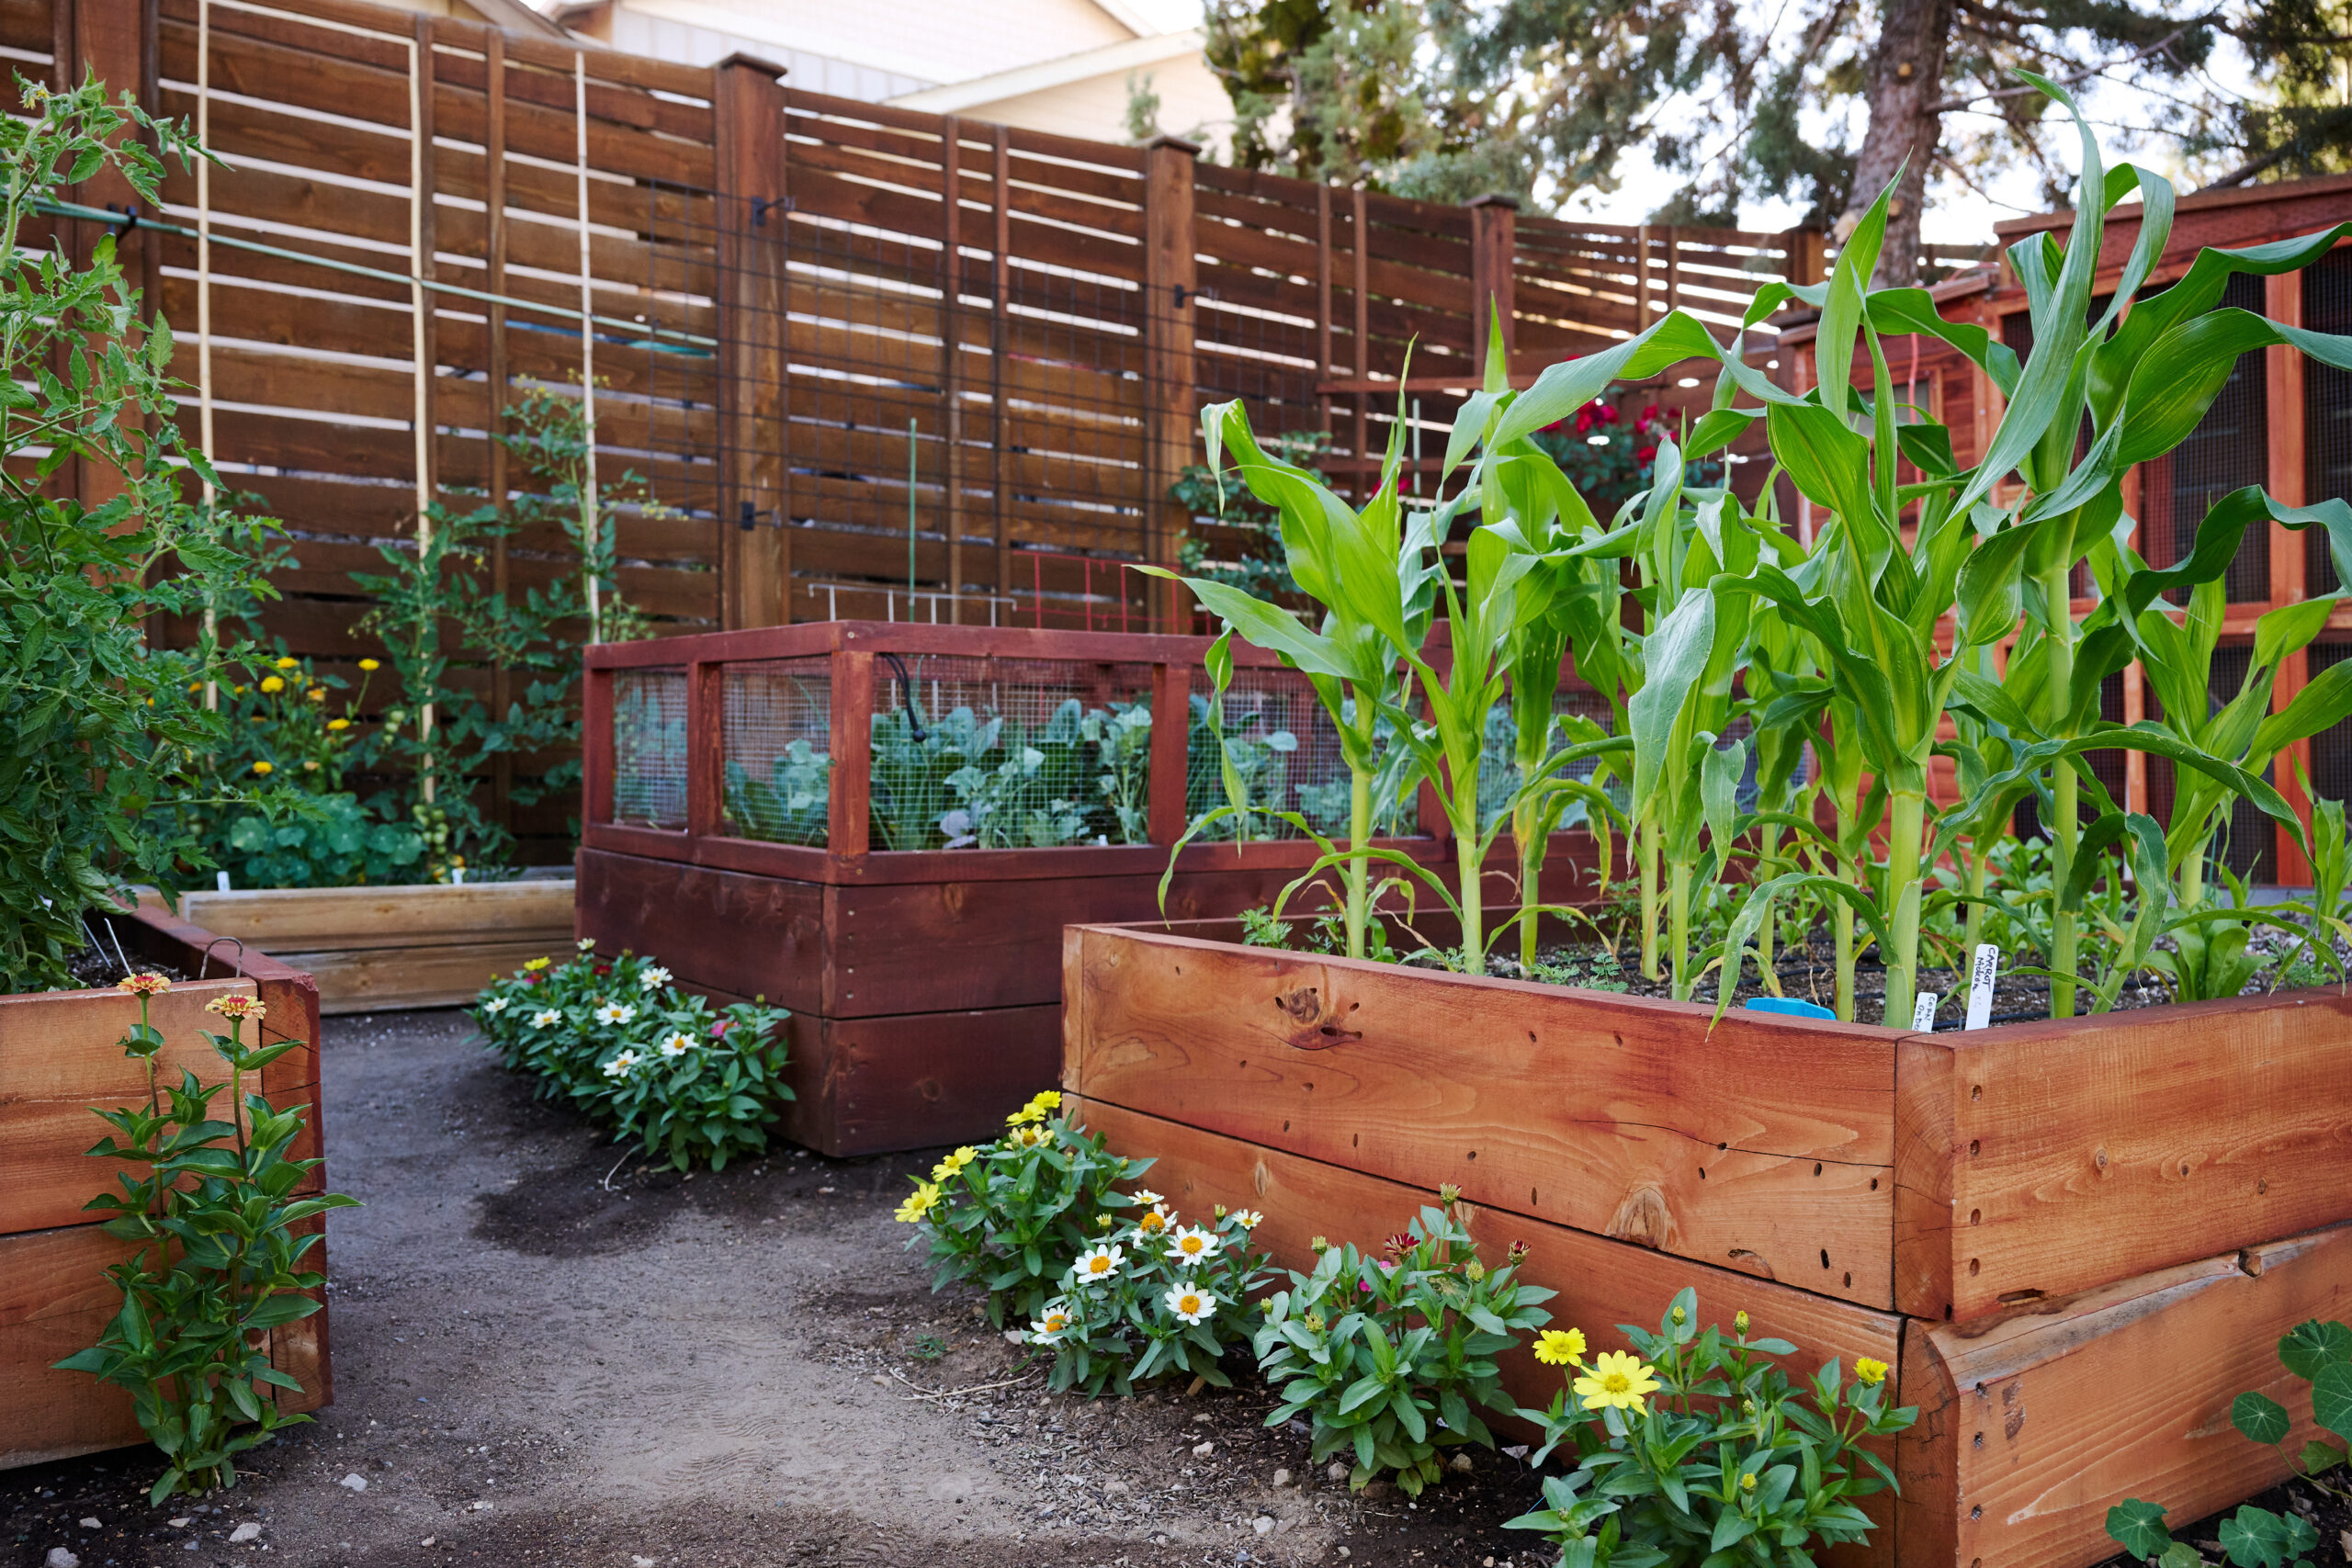
In this edition of the Lincoln County Gardner, guest host Larry King talks with Master Gardener Tom Green about how he uses his new greenhouse. They share tips and tricks for growing vegetables in the greenhouse environment.
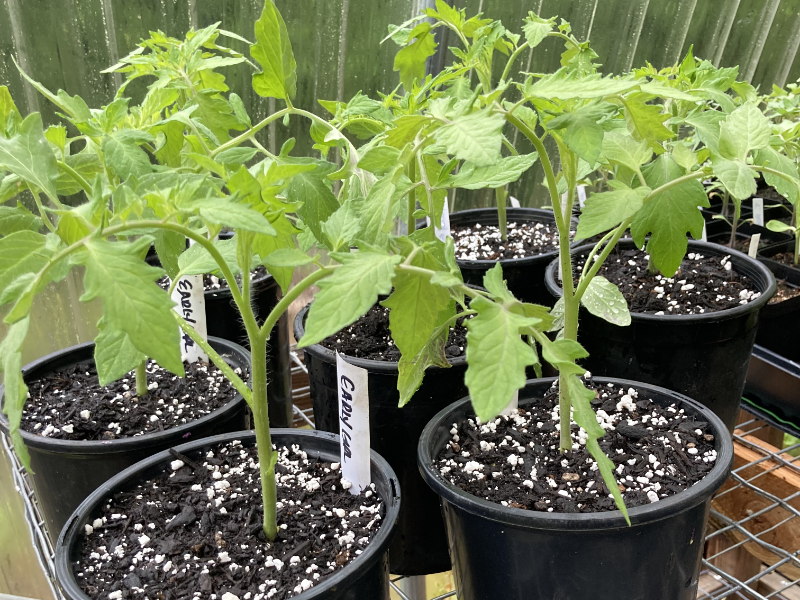
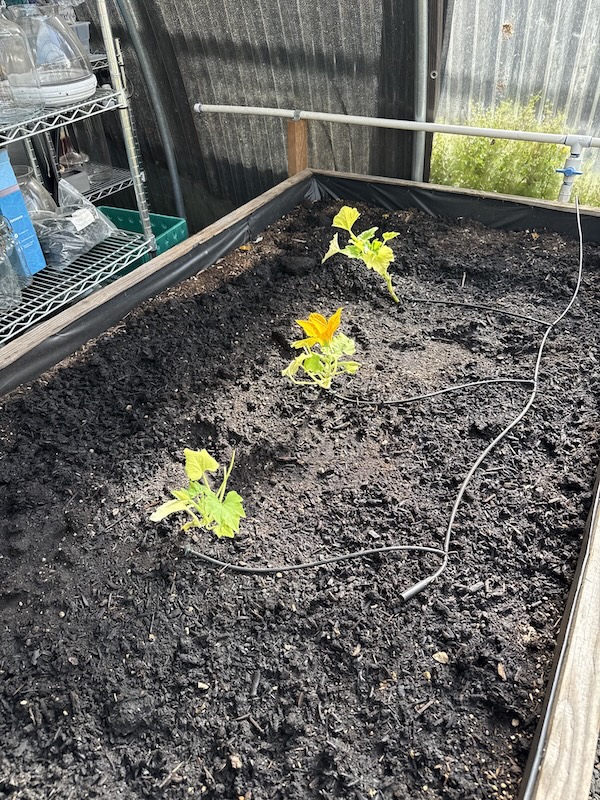
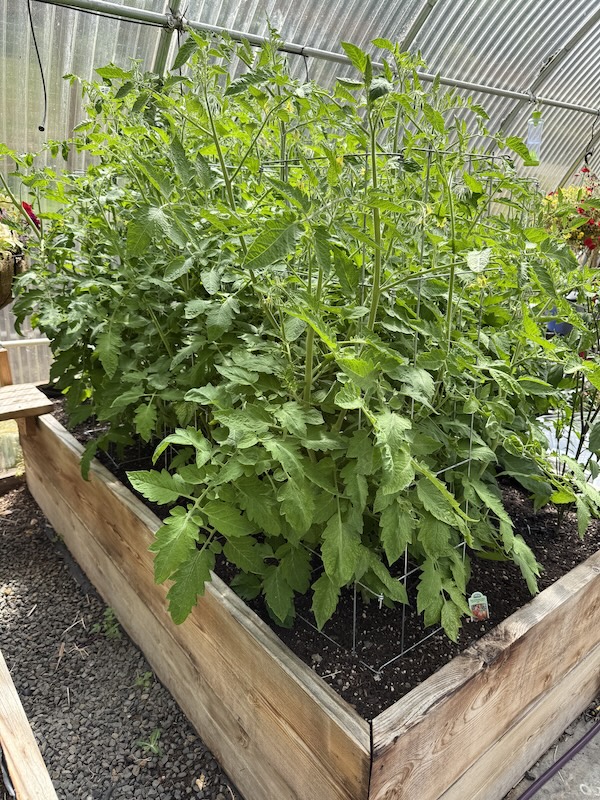
Here are some samples of plants growing in Larry King's hoop-house style greenhouse (photos courtesy of Larry King). Featured image of tomato starts, also by Larry King.
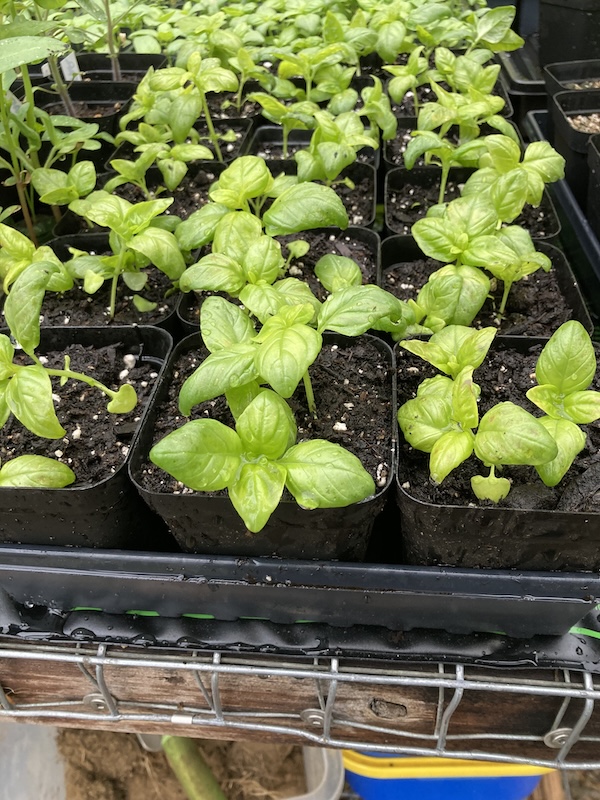
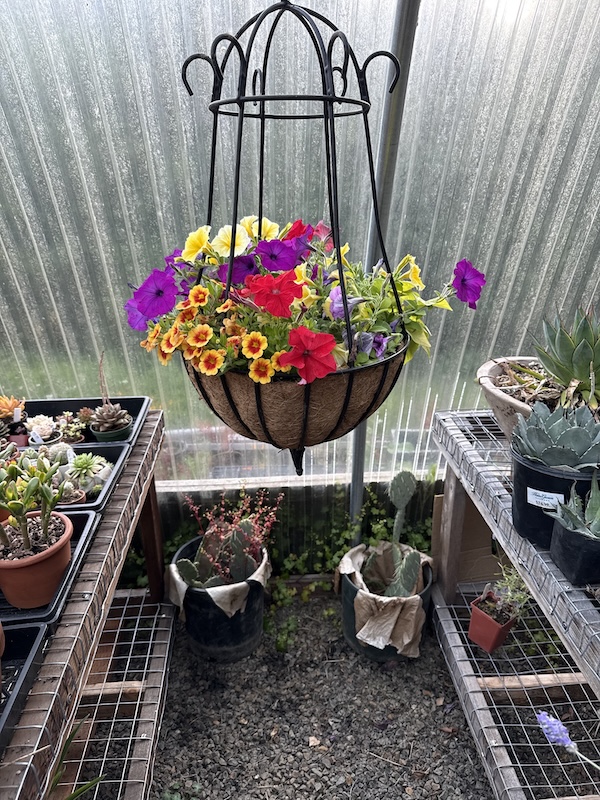
It's a big raised bed, but 3 zuchini plants will fill up this space in no time. Note the drip lines. They are on a timer that will provide just the right amount of water with no waste.These determinate tomatoes got 6 feet tall even before they started setting fruit. Things can get big and tall in a greenhouse. Plan accordingly.Even tender warm-weather plants like basil can be started in an unheated greenhouse. Visible beneath the planting tray is a thermostat-controlled heating mat to ensure the soil stays warm. These were grown for the Lincoln County Master Gardner Plant Sale (held in May every year).Of course, your greenhouse is not limited to vegetables. They're a great place to overwinter succulents and wonderful for starting your hanging baskets and annual garden flowers early.
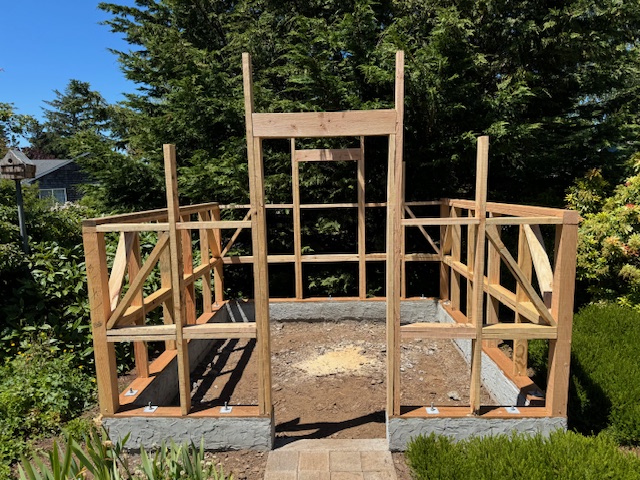
In this edition of the Lincoln County Gardner, guest host Larry King talks with Master Gardener Tom Green about building a greenhouse to extend the growing season here in Lincoln County.
Tom Green's Greenhouse from foundation to finished product. Photos courtesy of Tom Green.
Larry King's greenhouse, illustrating the hoop-house style of construction (image provided by Larry King).
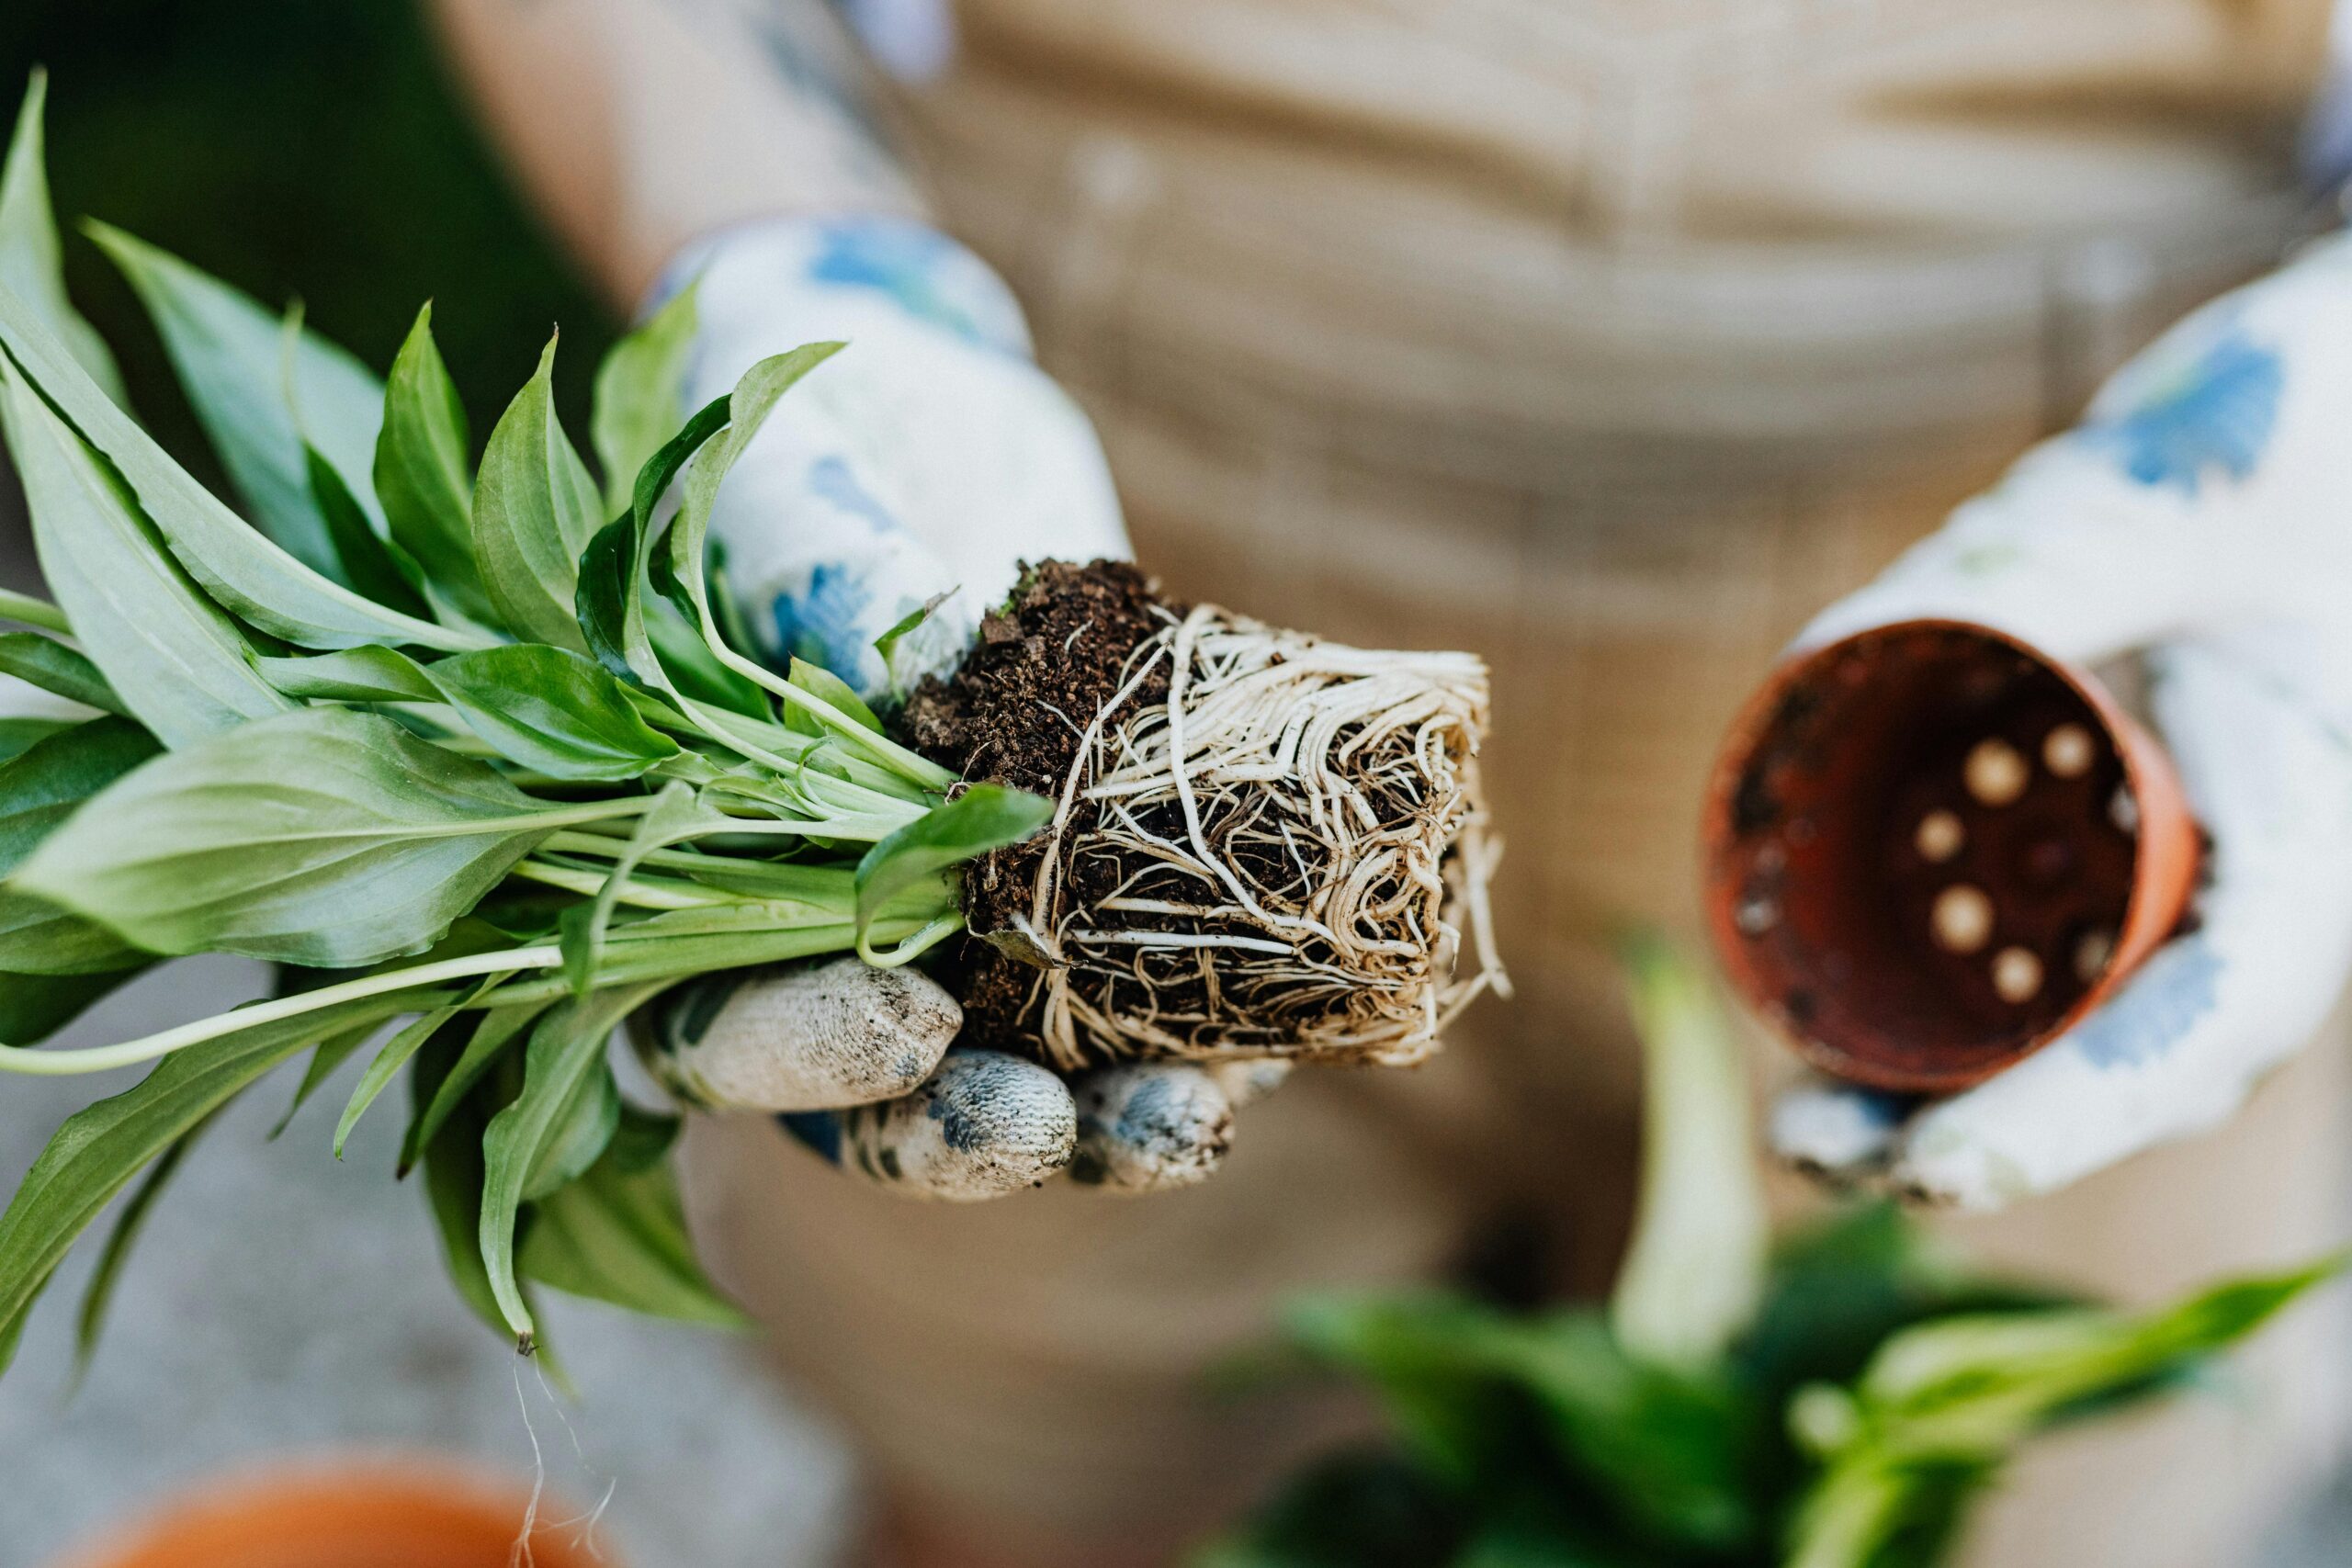
In this edition of the Lincoln County Gardner, guest host Larry King talks with Master Gardener Ross McCann about seasonal houseplant maintenance. Ross shares the best time of year and techniques for repotting, pruning and fertilizing as well as tips for watering.
Pruning a pothos plant (Epipremnum aureum) will cause the plant to get bushier and the cuttings can be rooted in water to create additional plants. Photo by Sasha Kim of Pexels.
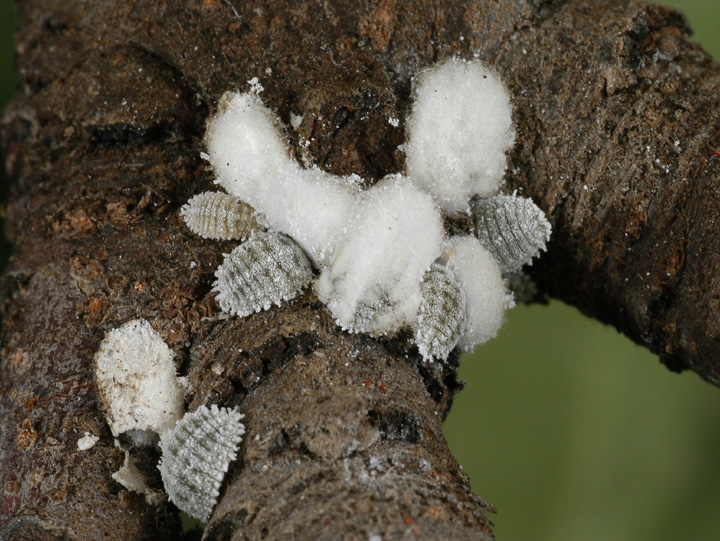
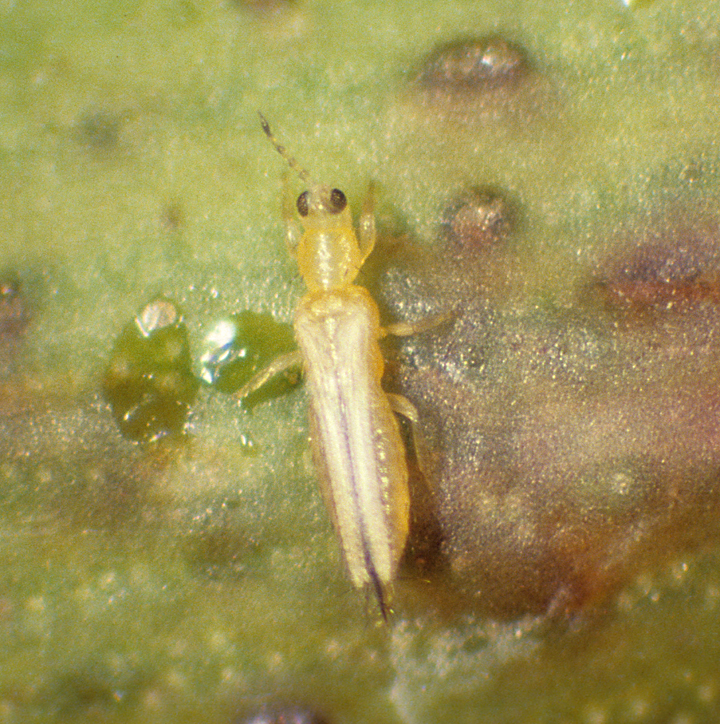
In this edition of the Lincoln County Gardner, guest host Larry King talks with Master Gardener Ross McCann about common houseplant pests. Ross shares his personal experience in identifying houseplant pests and how to manage them.
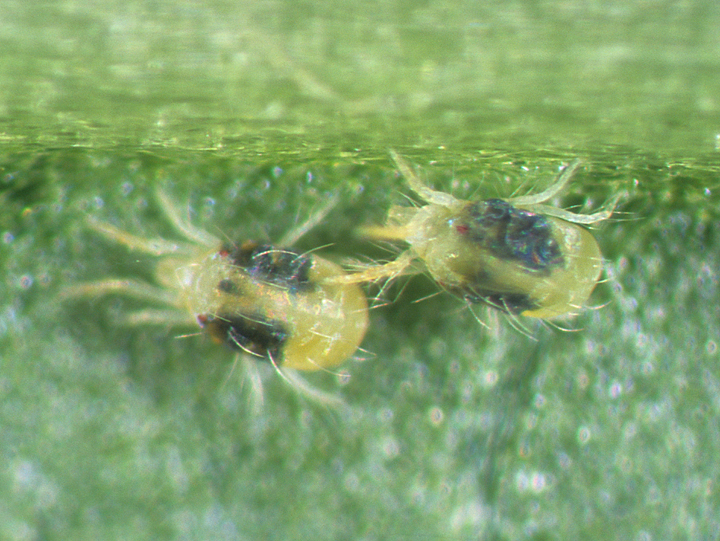
Two-Spotted Spider Mites (Tetranychus urticae) under magnification. There are 5 different species of mites that are present in the Pacific Northwest. They are very similar and are managed using the same methods.
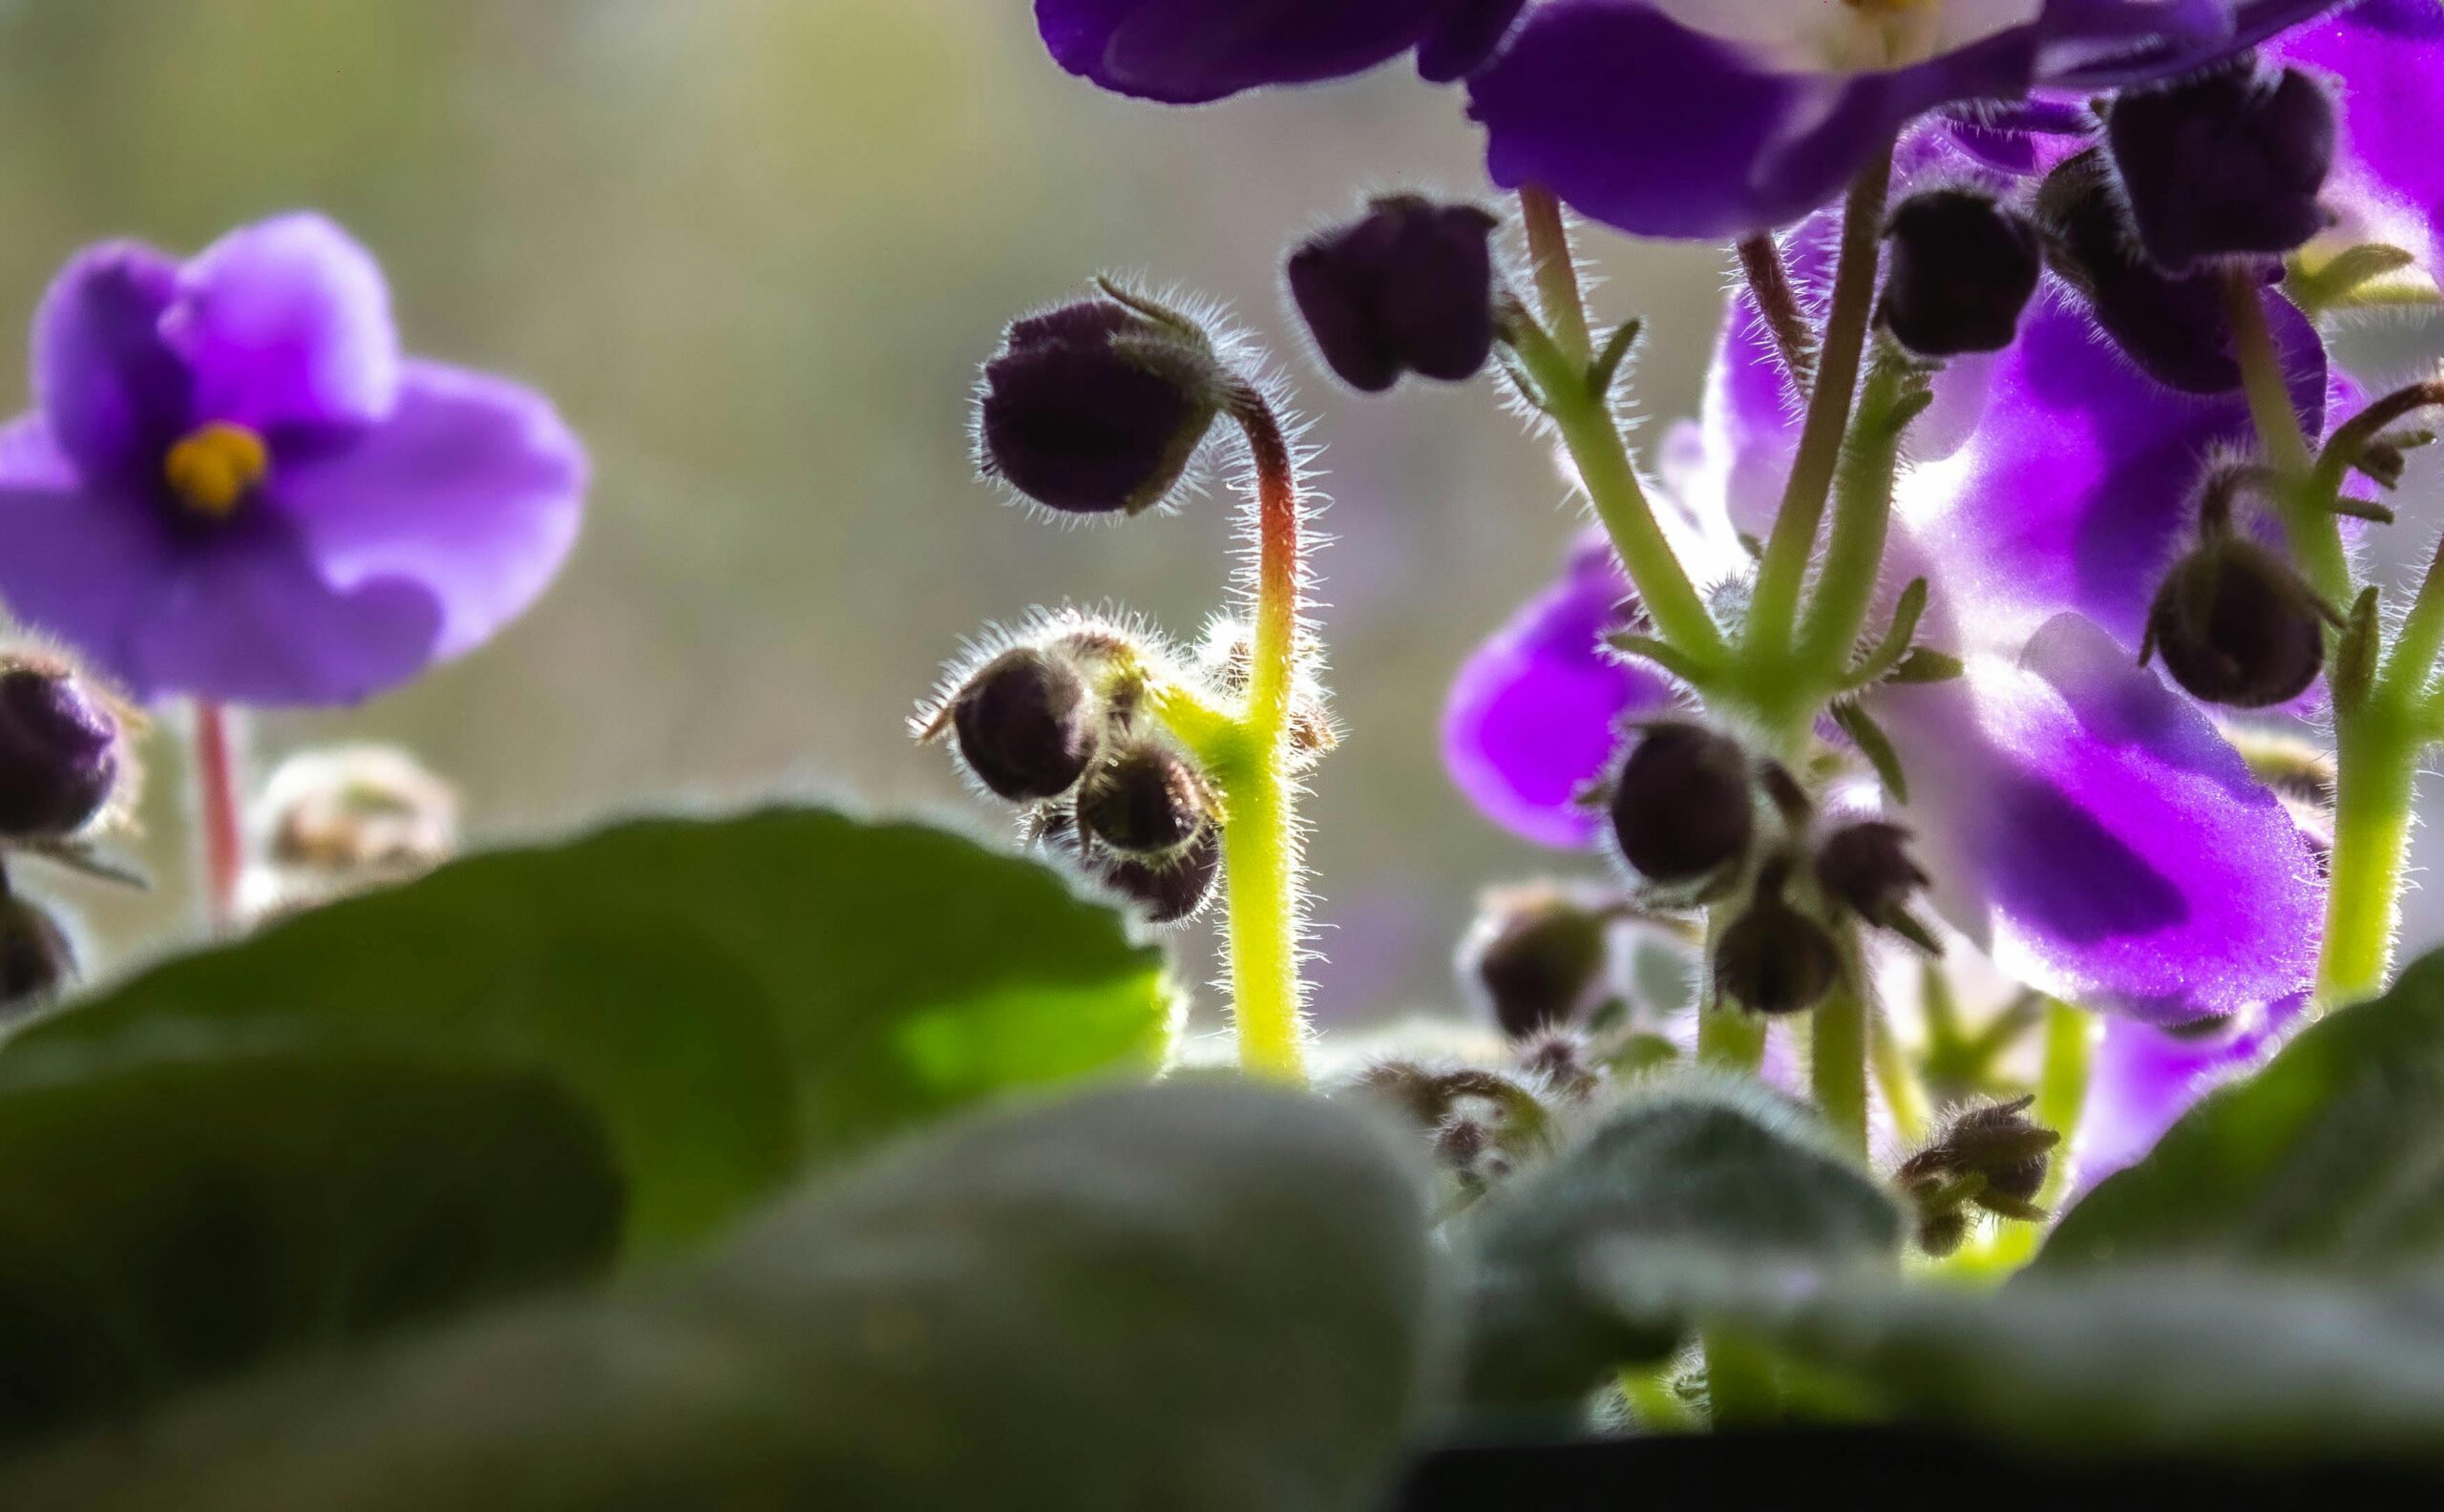
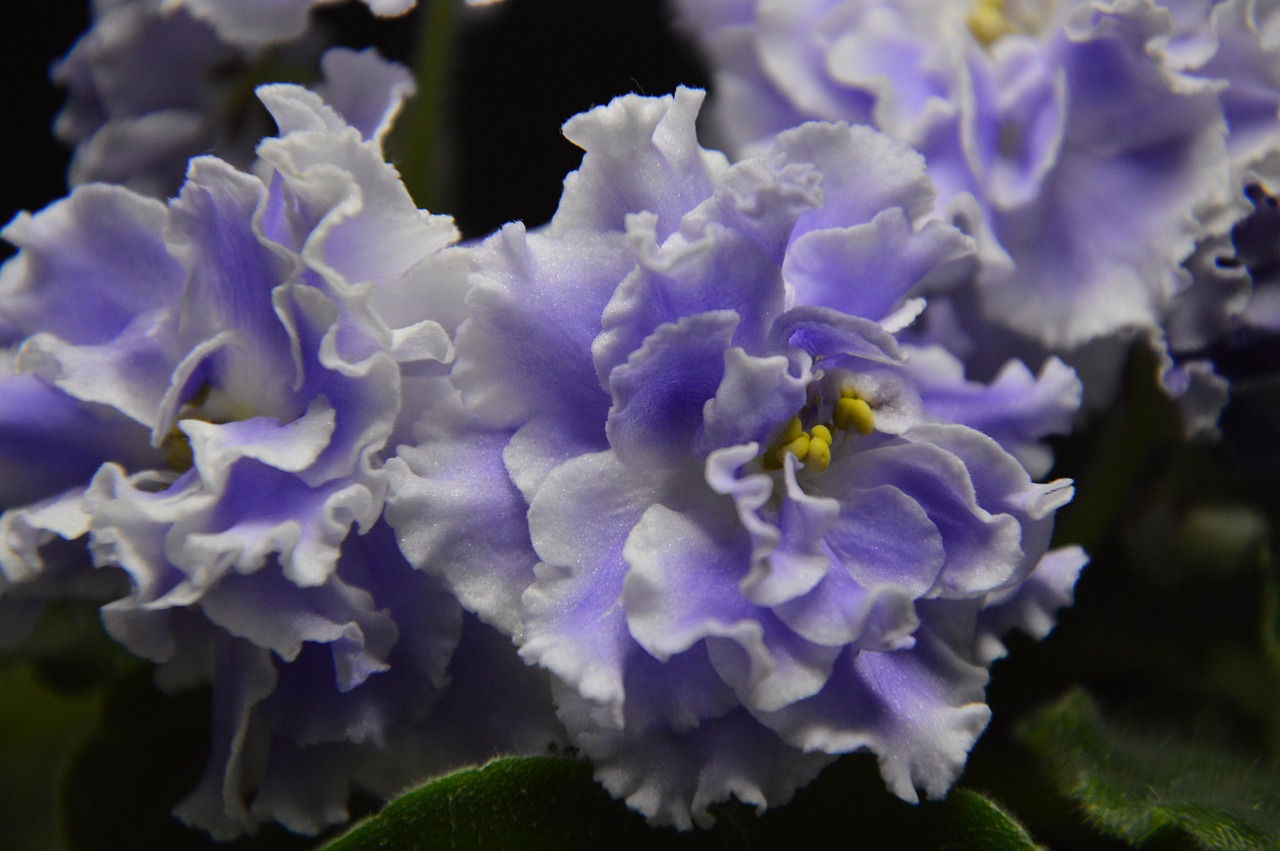
In this edition of the Lincoln County Gardner, host Ross Mathews talks with Master Gardener Marlene Shapiro about African violets (Streptocarpus ionanthus). African violets are some of the longest blooming of houseplants. Once you know what they like, they are easy to grow.
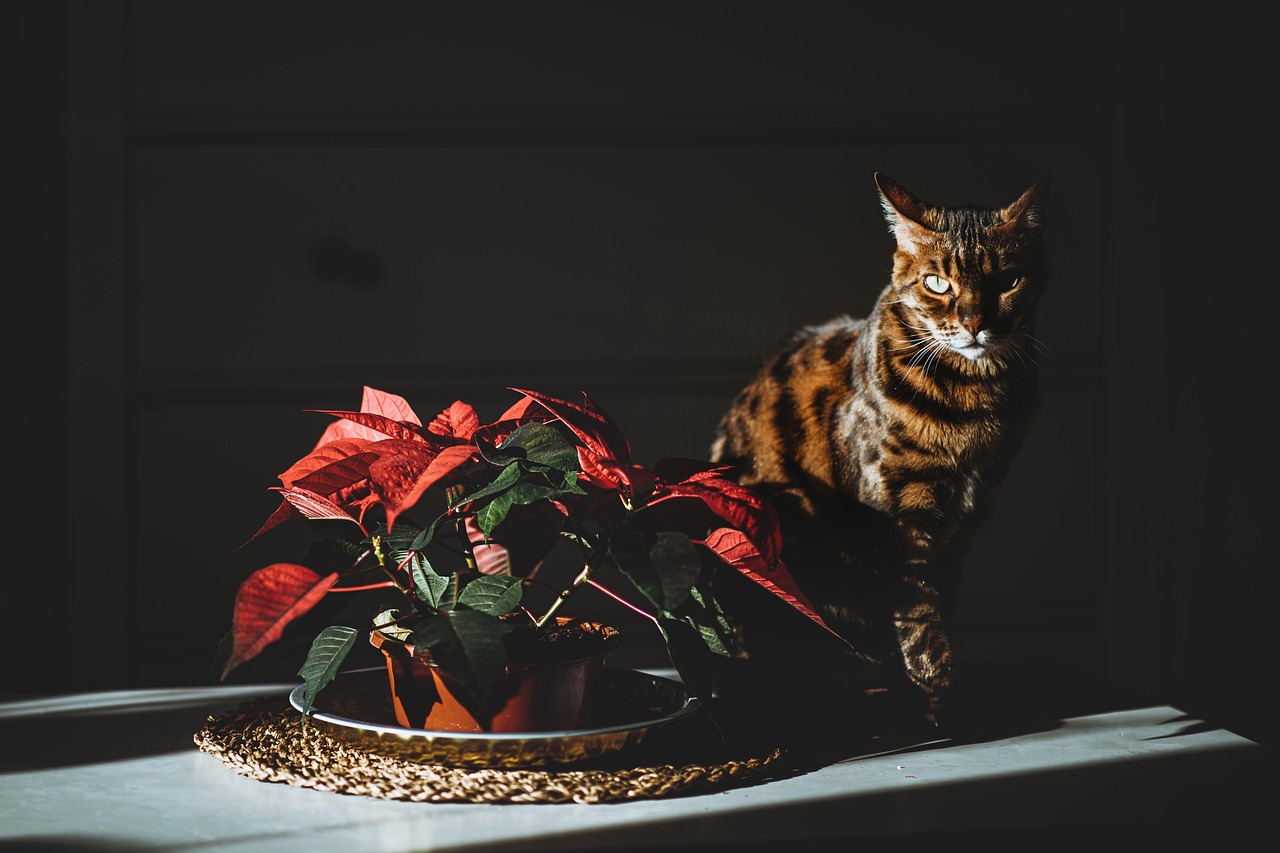
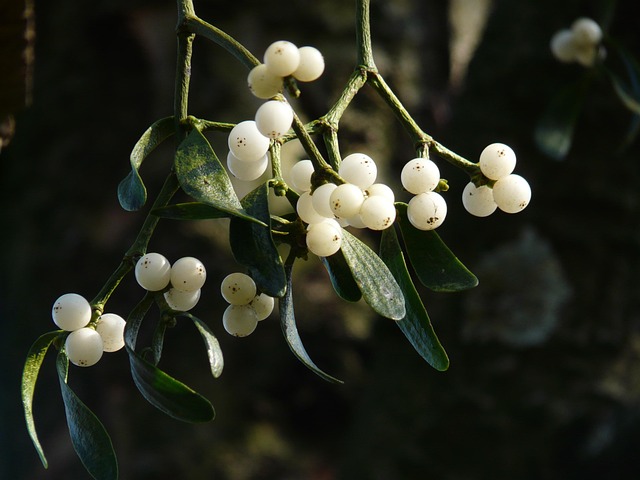
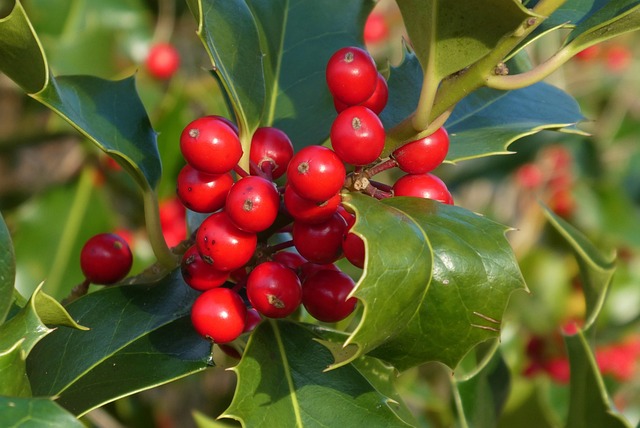
In this edition of the Lincoln County Gardner, guest host Larry King talks with Master Gardener Ross McCann about pets and houseplants. This is especially helpful during the holiday season, as we often bring extra plants and greens into the home—unaware of their toxicity. Ross mentions the ASPCA research into pet-poisonous plants. Here's a link to their site where you can look up specific plants and pets that do not mix.
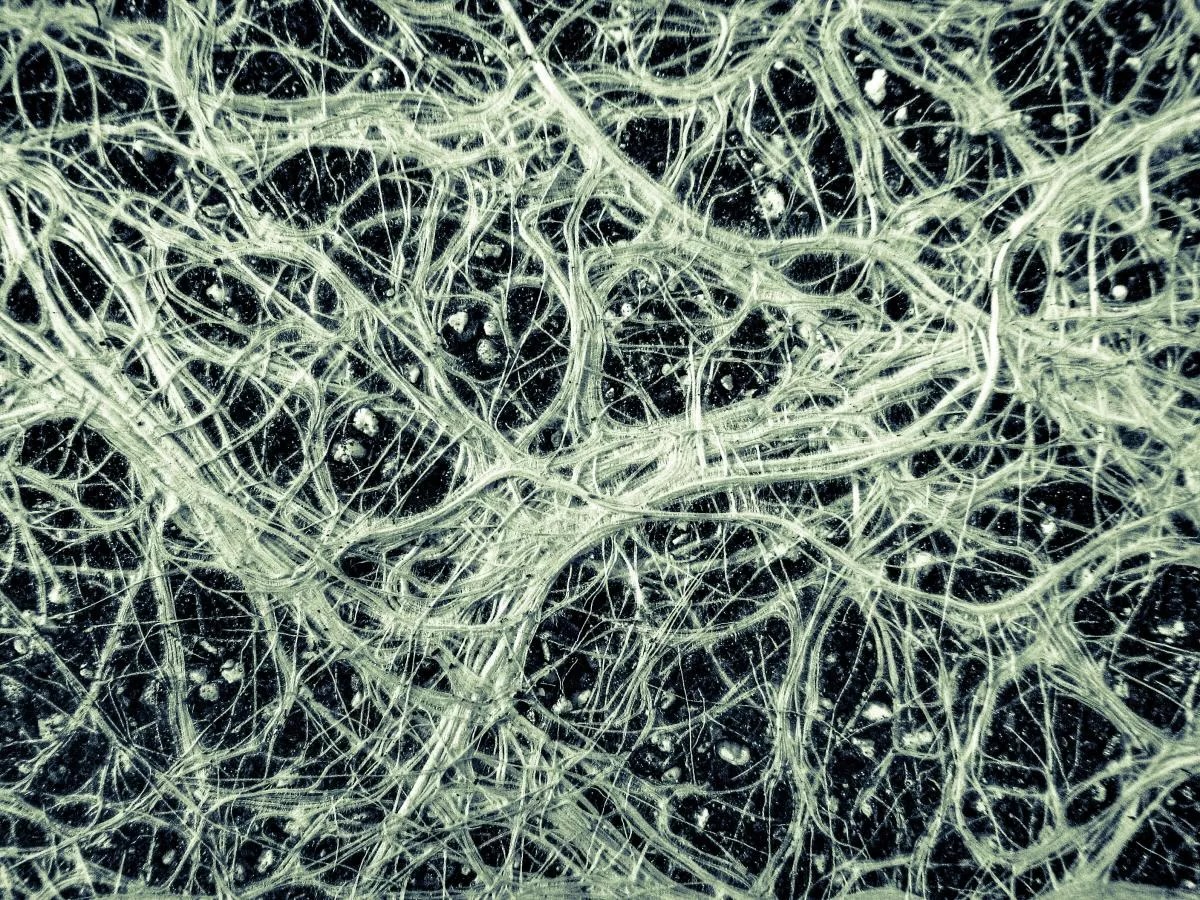
In this edition of the Lincoln County Gardner, Ross McCann talks with Master Gardener Herb Fredricksen about fungi and their part in creating Mycorrhizal Networks. You'll even get a history lesson on how fungi and plants evolved.
Herb's fun fact: Scientists say their DNA tests prove that a single Armillaria organism covers nearly 3 1/2 square miles under the Malheur National Forest. Image by Todd Sonflieth of Oregon Public Broadcasting. Featured image of Mycorrhizal Fungi courtesy of University of New Hampshire Extension Services.
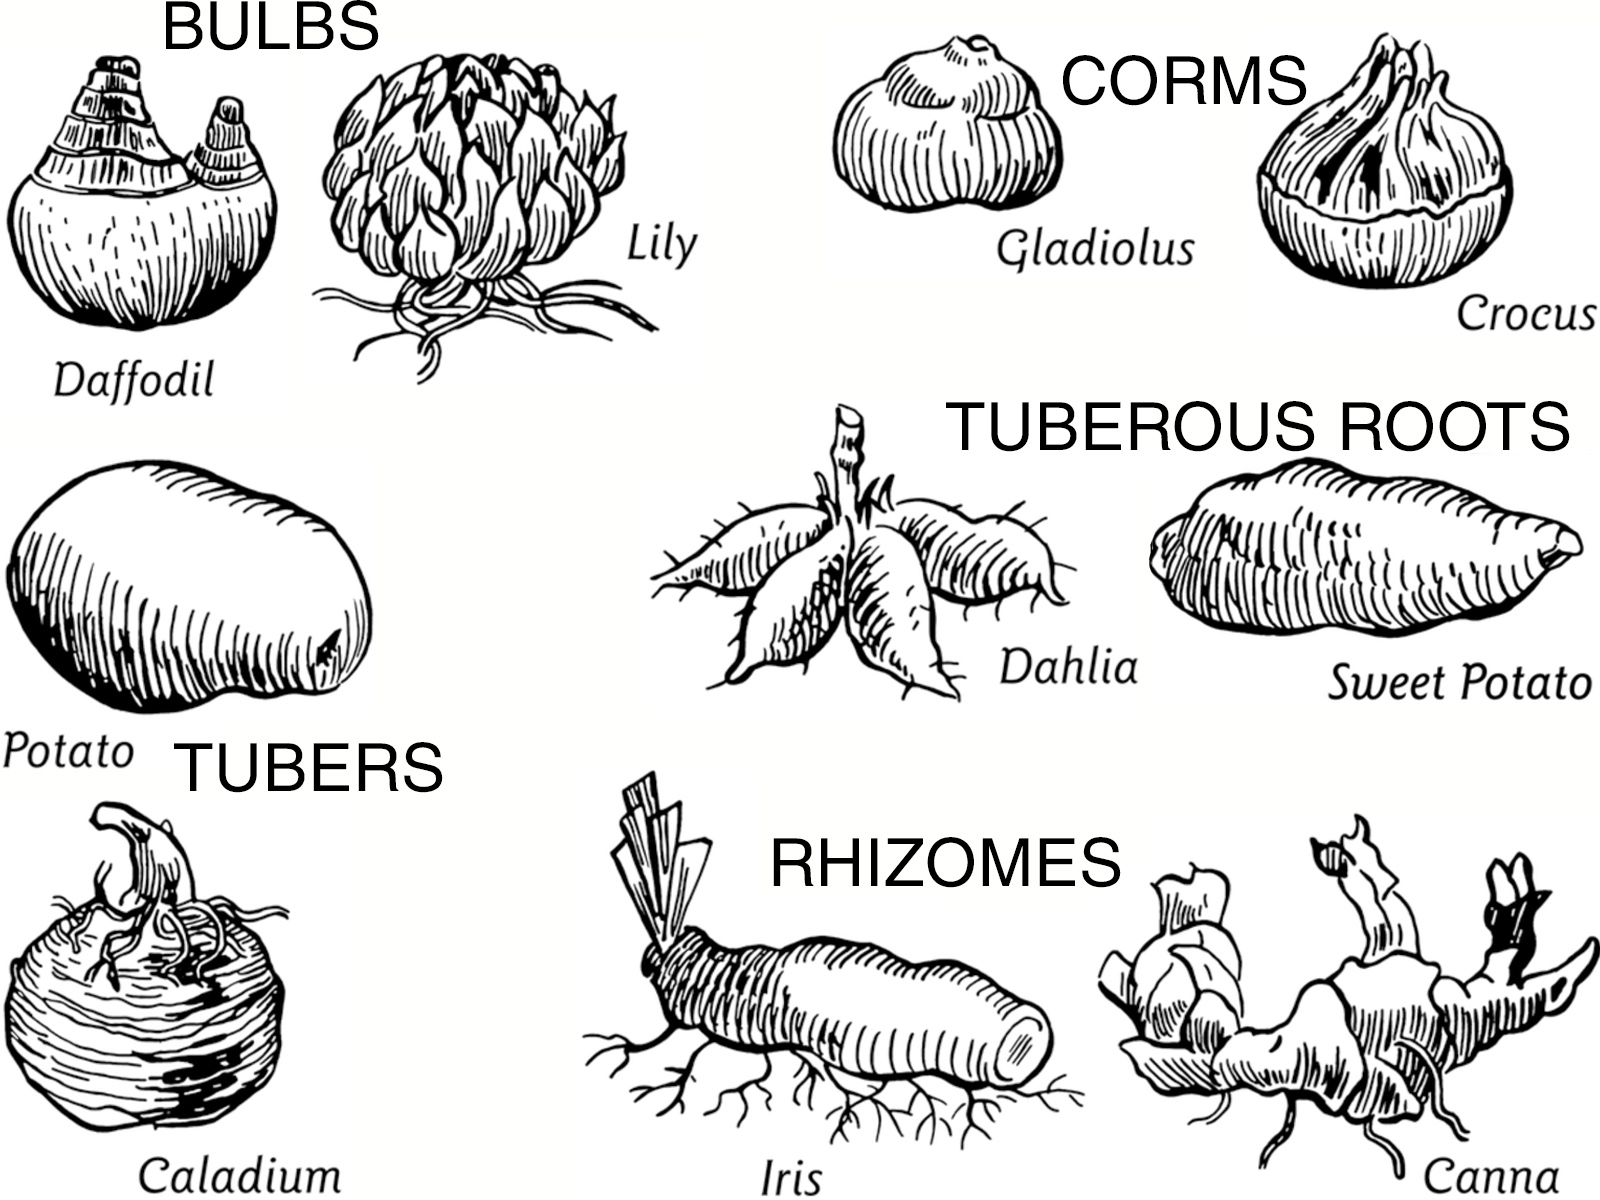
Sometimes we have too much material when editing our KYAQ radio show and important information doesn't make it into the episode. In this case, Master Gardener Joan Crall does a wonderful job of describing the five kinds of "bulbs" that produce spring displays of flowers. Master Gardener Ross McCann is the interviewer. Joan covers true bulbs, corms, tubers, tuberous roots and rhizomes.
Bulb
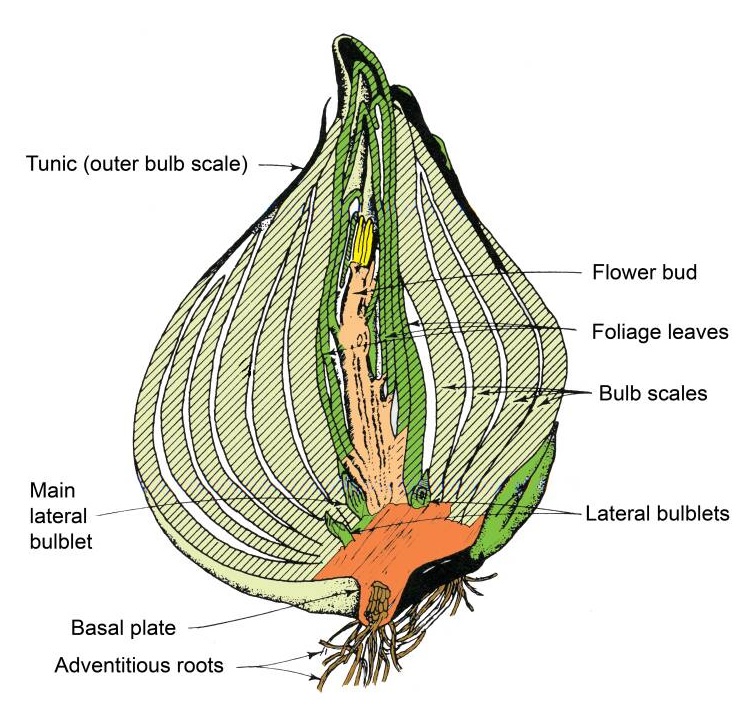
Structure: A bulb is composed of modified, fleshy leaves (scales) wrapped around a central bud, with a basal plate at the bottom.
Function: Stores energy and nutrients to survive and grow a new plant.
Examples: Tulips, daffodils, lilies, and onions.
Corm
Structure: A solid, swollen underground stem with a papery outer covering (tunic). It is not made of layered leaves.
Function: Stores food reserves in the stem tissue.
Examples: Crocus, gladiolus, and freesia.
Tuber
Structure: A swollen stem or root that stores food. It has "eyes," which are buds that can sprout new shoots.
Function: Stores nutrients for the plant's growth.
Examples: Potatoes and caladium (stem tubers) and dahlias (tuberous root).
Rhizome
Structure: A horizontal stem that grows underground or along the surface, with roots and shoots developing from nodes along its length.
Function: Serves as both a storage organ and a primary means for vegetative reproduction and spreading.
Examples: Ginger, iris, and canna.
In cross section, a true bulb has all of the parts visible that will form the whole plant. Diagram courtesy of University of Florida. Featured line drawing courtesy of Thursd.