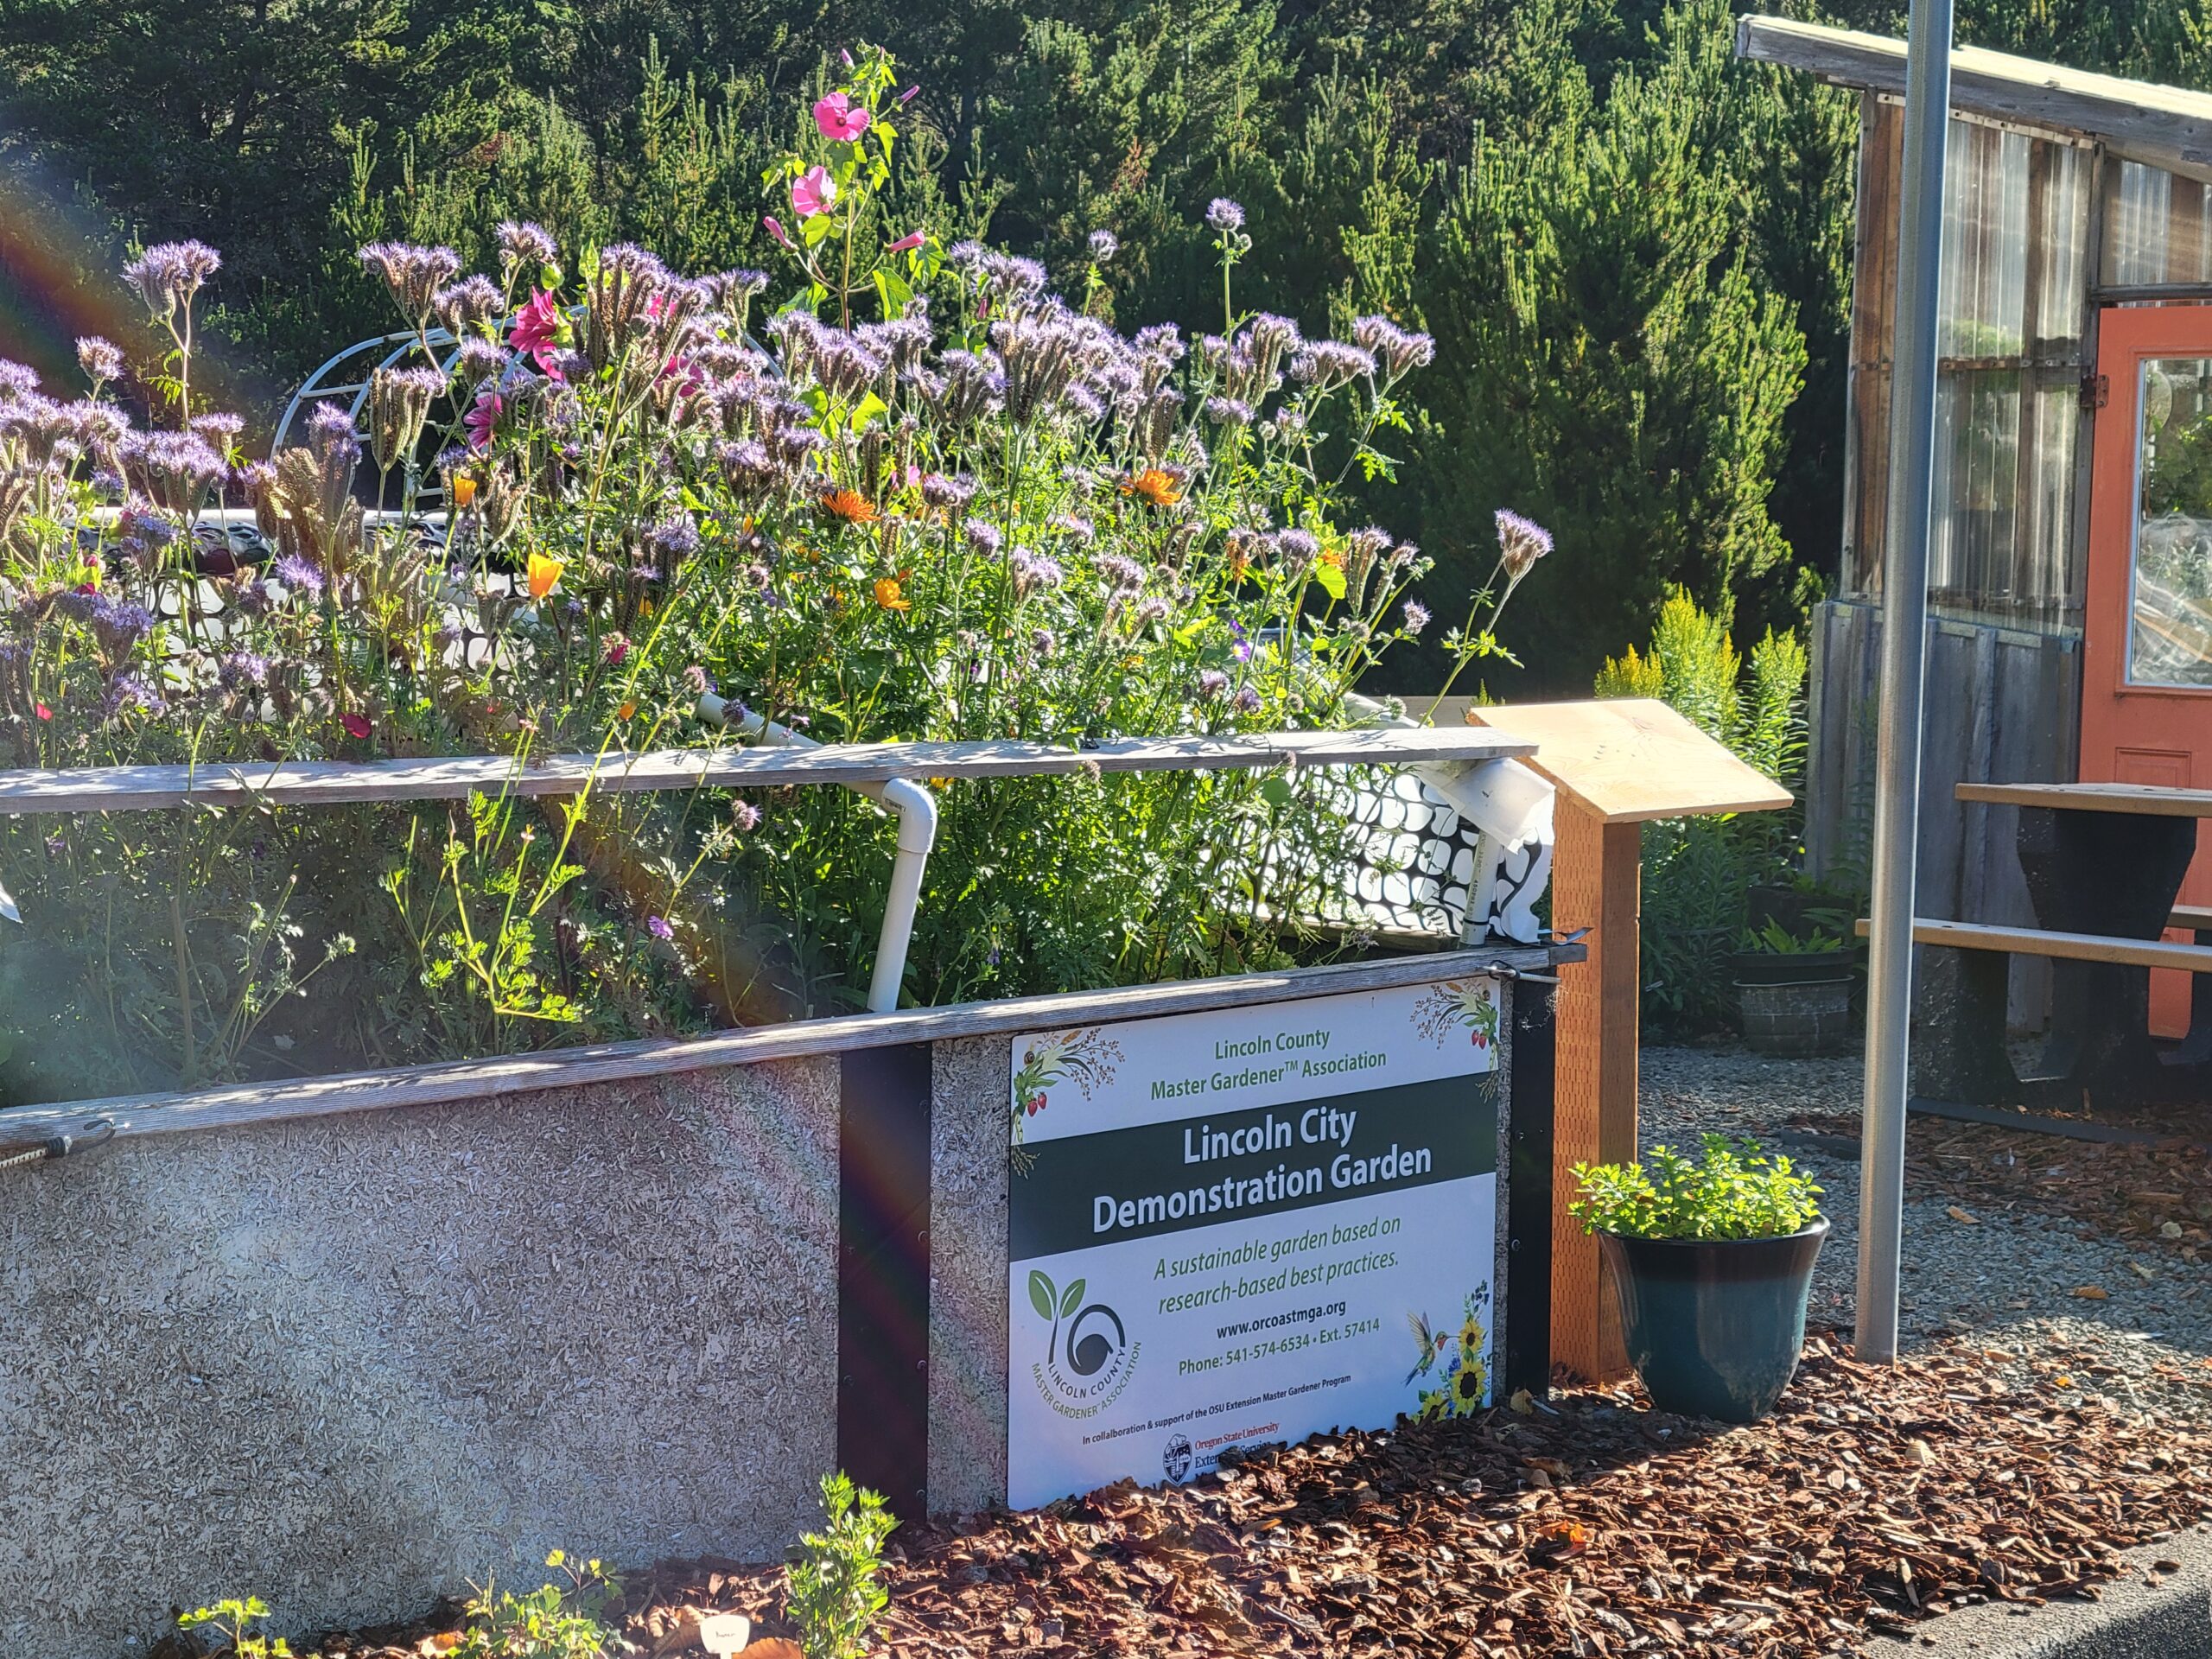
In this edition of the Lincoln County Gardner, host Ross McCann talks with Master Gardeners Kathy Burke and Terry DeJong, leaders of the Lincoln City OSU Demonstration Garden. Find out about the garden and drop by for a visit.
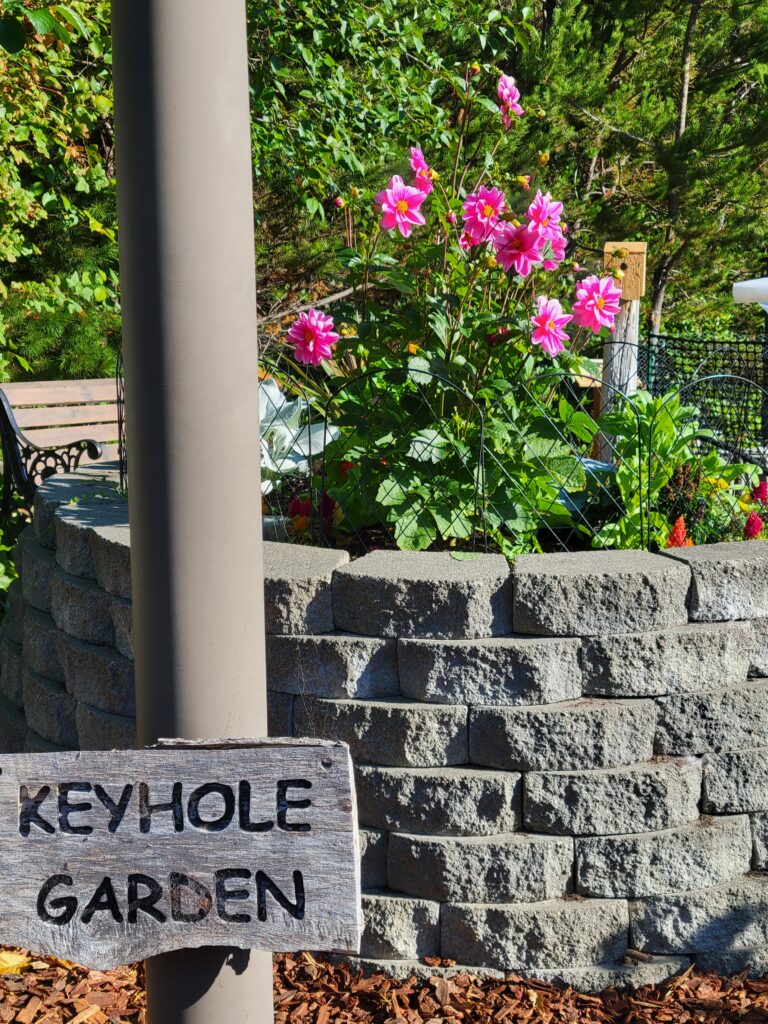
Ross mentions the KYAQ episode featuring the Keyhole garden which you can listen to here.
Local Lincoln City residents enjoying the Sensory Garden. Photo from Terry DeJong.Mary Jane Bonelitz designed, and the Lincoln County Master Gardeners built this unique "Keyhole Garden." Photo by Larry King.
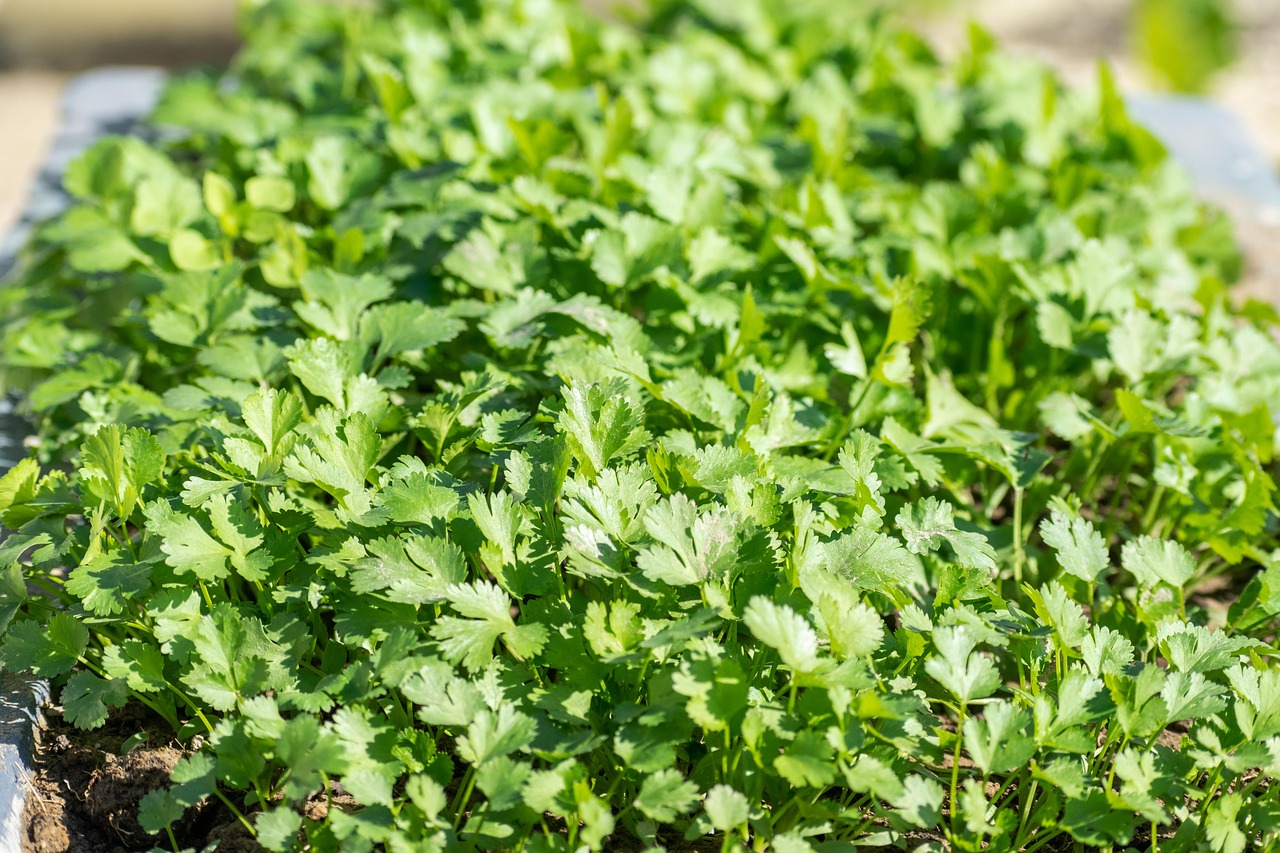
In this edition of the Lincoln County Gardner, host Ross McCann talks with Master Gardener Emilia Lacy about culinary herbs from various cultures and regions. She covers all the unusual herbs that will be for sale at the annual Master Gardener™ Plant Sale. It's on 5/16/2026 at the Armory in Newport, Oregon.
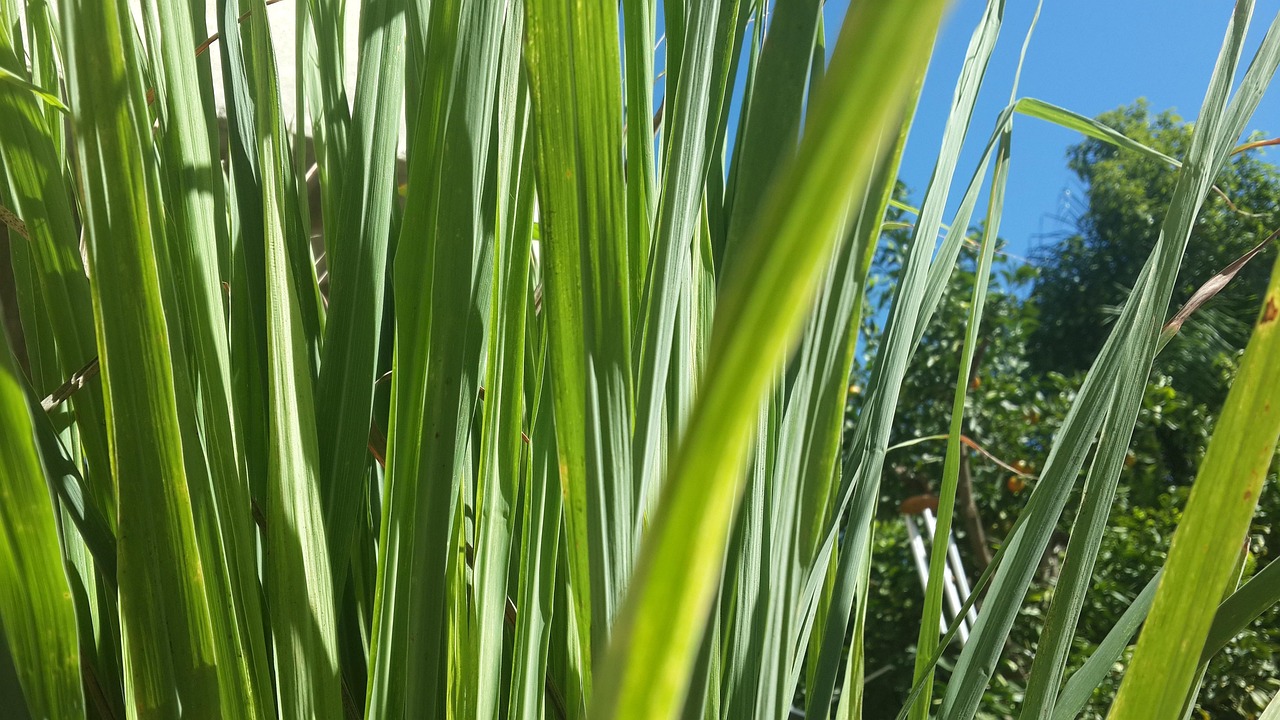
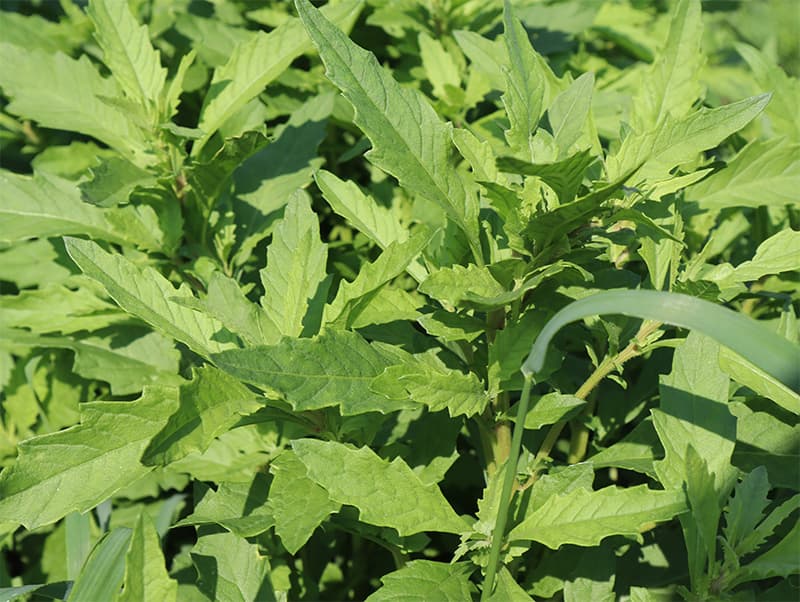
Lemon grass is hard to get started in our climate, but once established may survive all but our coldest winters in Lincoln County; Image by alon from Pixabay. Featured image of Cilantro by Rajesh Balouria from PixabayEpasote requires heat for germination, but grows quickly. Image courtesy of Heirloom Seeds.
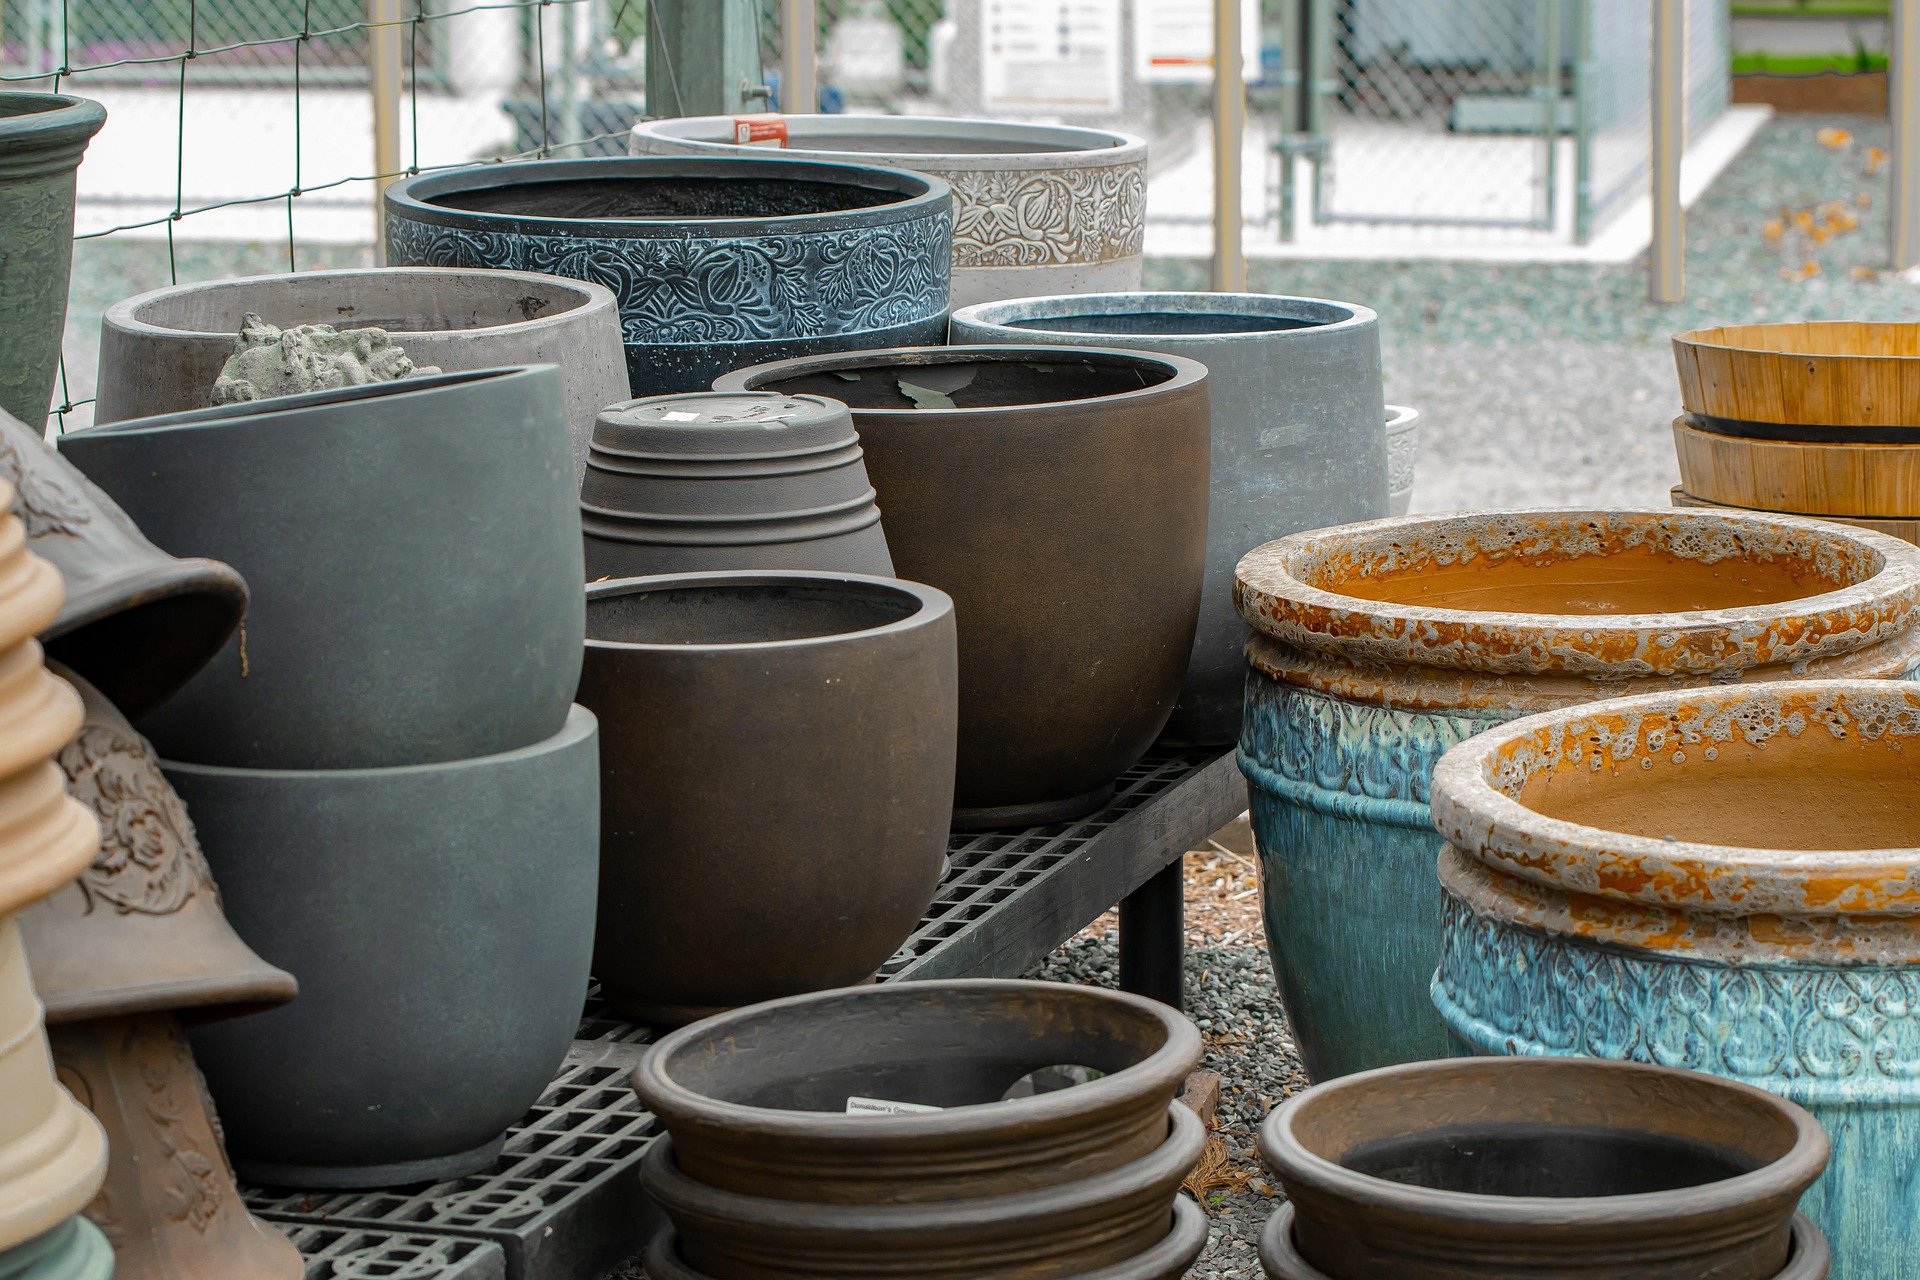
Nursery pots and garden tools are meant to last more than one season. Unfortunately, some plant diseases, pests, and pathogens can also persist on these items from one season to the next. Fungal spores, bacterial films, and even virus particles may remain on soil residues or in small crevices in tools and containers. At the start of the season, carefully disinfect your garden tools to reduce the risk of carrying problems into the new growing cycle. It’s also important to disinfect shears and secateurs between plants, since the blades can pick up a plant virus from one plant and mechanically transmit it to the next.
Any time you're reusing pots and containers, a thorough cleaning followed by a disinfectant treatment is recommended. Removing old soil and organic debris first is essential, because disinfectants work far more effectively on clean surfaces. This simple step can significantly reduce the likelihood of spreading soil-borne diseases to new plants.
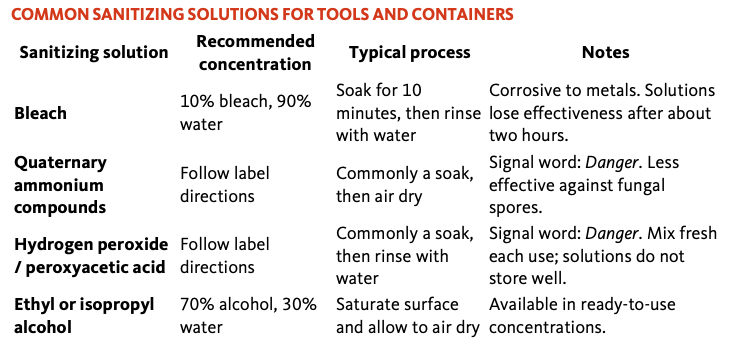
Here are recommended options from OSU Extension Service:
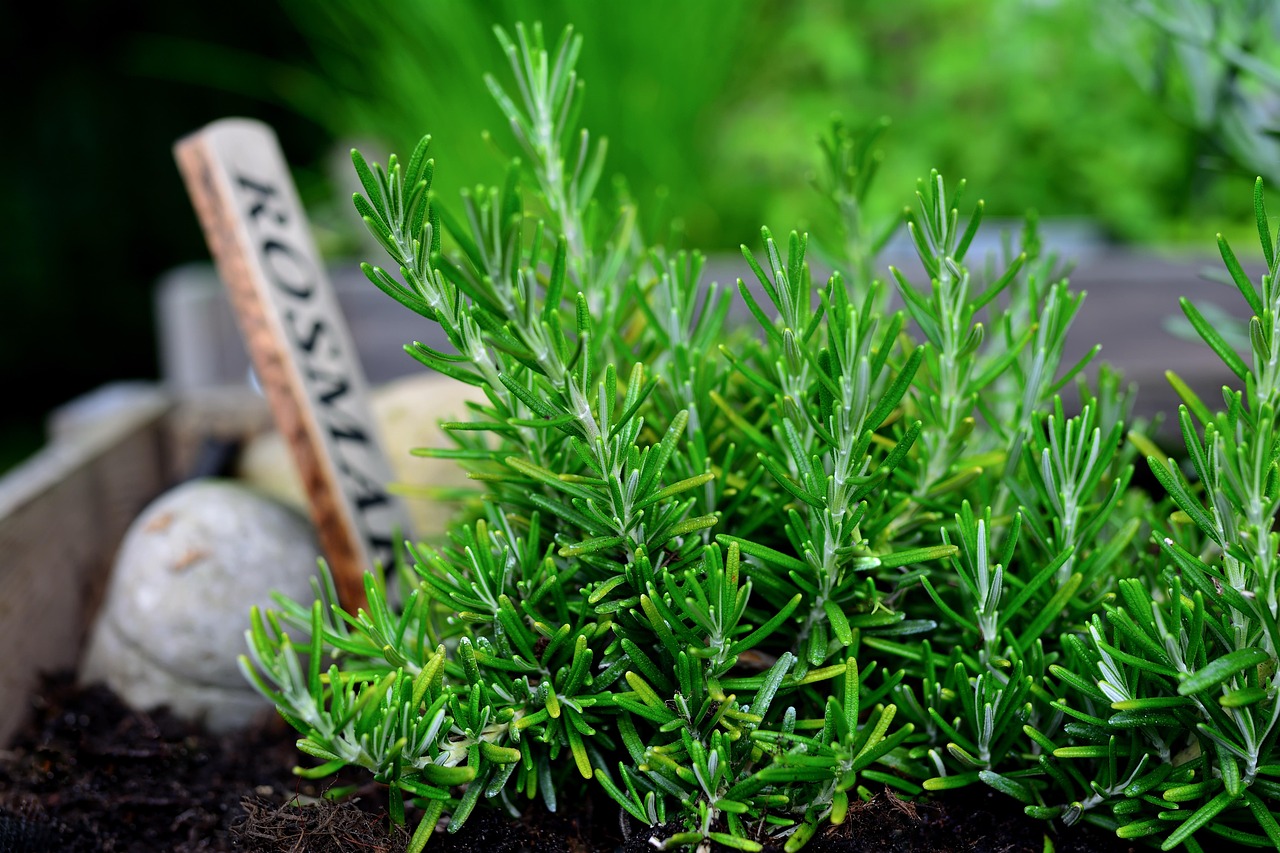
In this edition of the Lincoln County Gardner, host Ross McCann talks with Master Gardener Joan Crall about starting and growing herbs along the Oregon Coast. She explains exactly how to start herbs from seeds as well a purchasing starts. If growing your own isn't for you, there's a large selection of herbs at the annual Master Gardener™ Plant Sale. It's on 5/16/2026 at the Armory in Newport, Oregon.
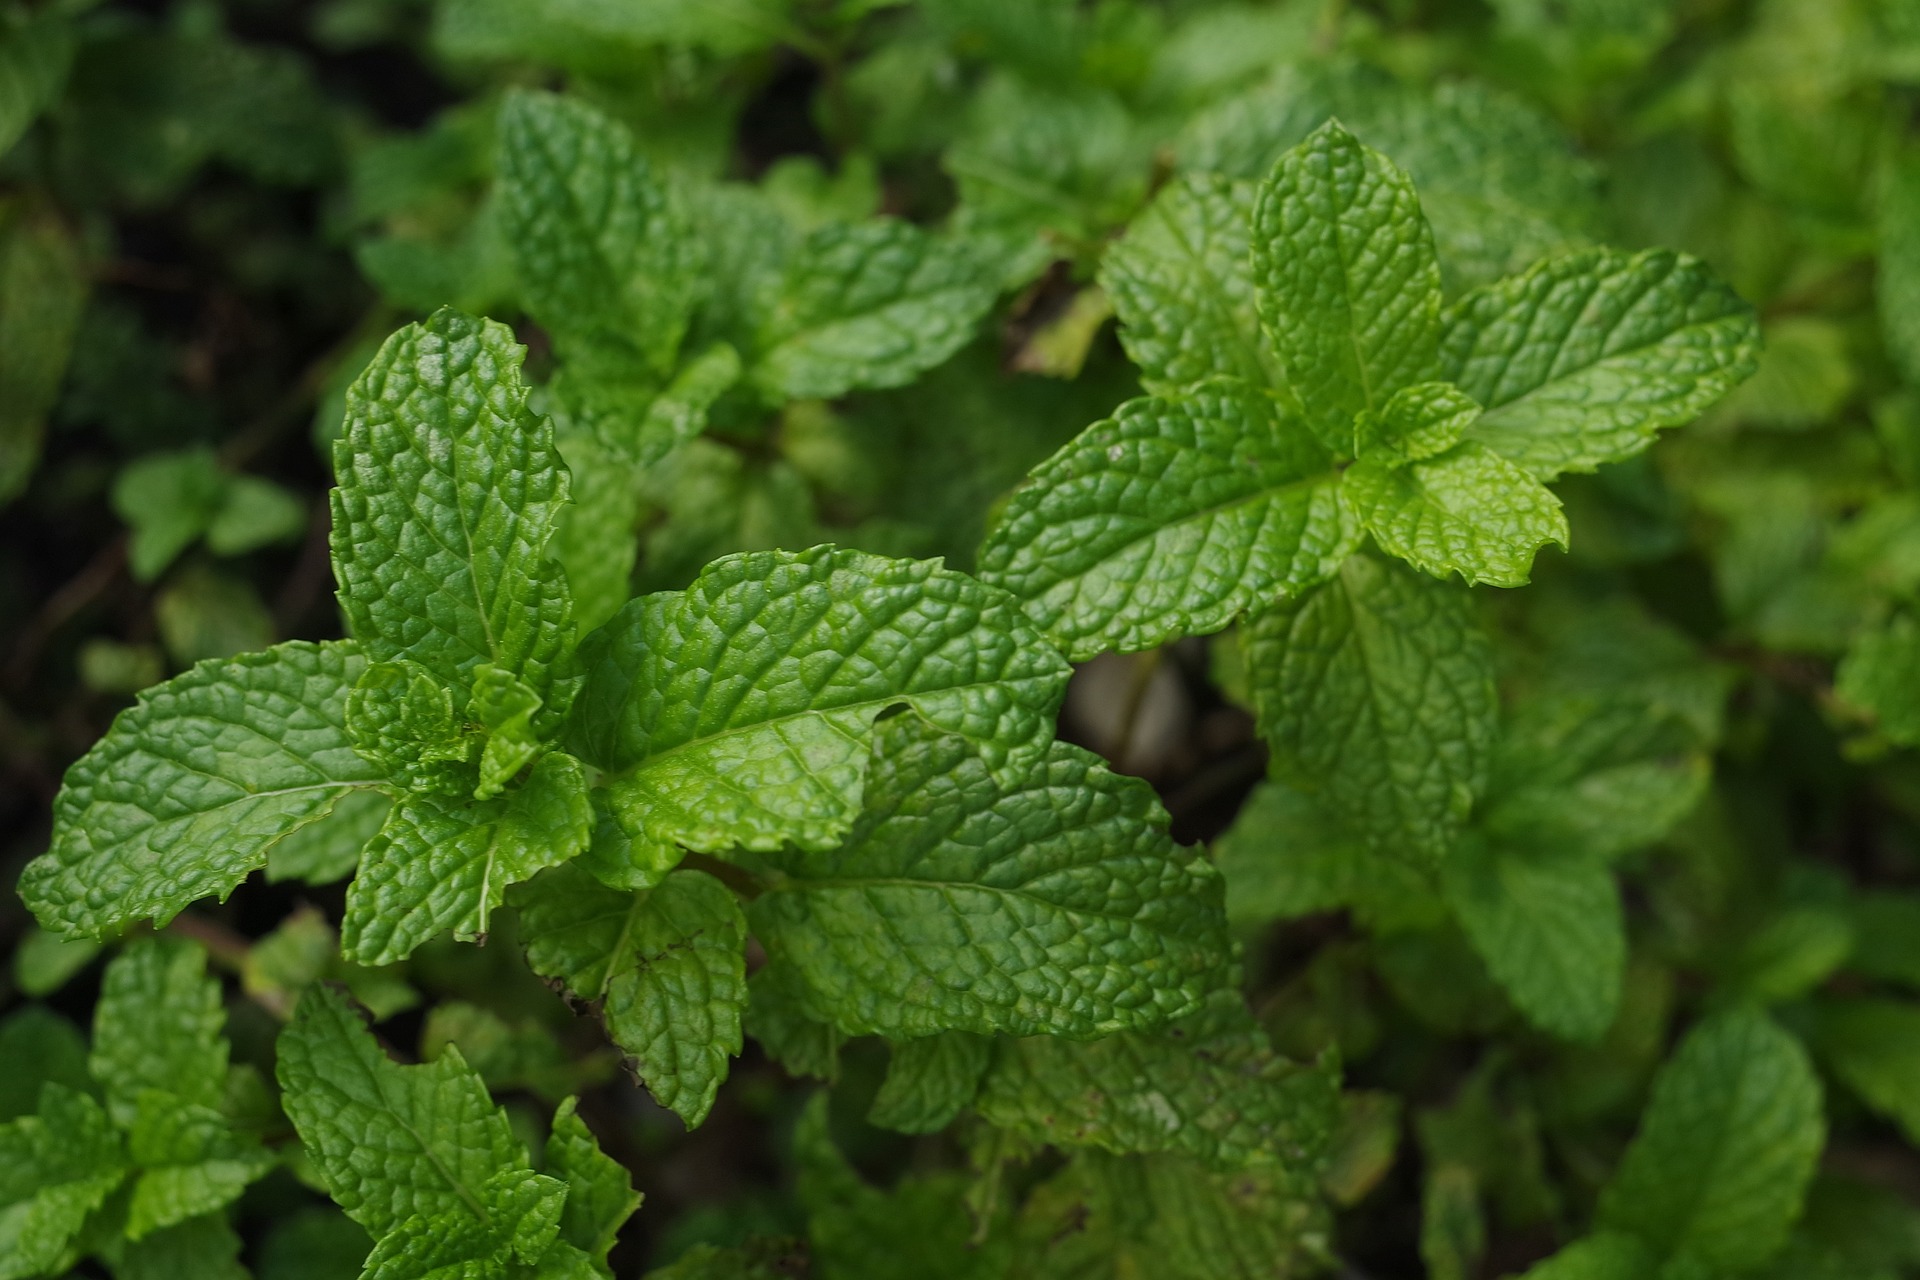
Fennel and Dill require deeper pots for their long roots; Image by Schwoaze from Pixabay. Featured image of Rosemary by congerdesign from Pixabay.For more dependable flavor, mint is better propagated by cuttings rather than seed. Image by ChrisCCP from Pixabay.
Using a 30% probability threshold, means there’s about a 3 in 10 chance frost will occur before or after the given date. In general, it should be safe to plant after this date. Tender and warm-weather plants may need to be planted later when the soil is warmer (think tomatoes). Because micro-climates vary—your backyard might be warmer or cooler than nearby towns—use these dates as a flexible guide, not a guarantee.
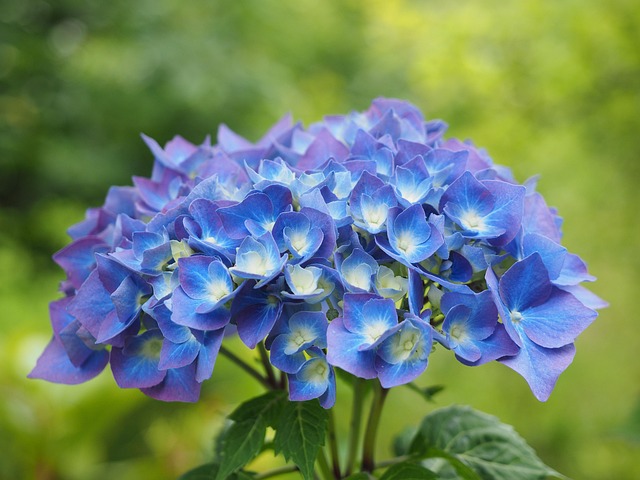
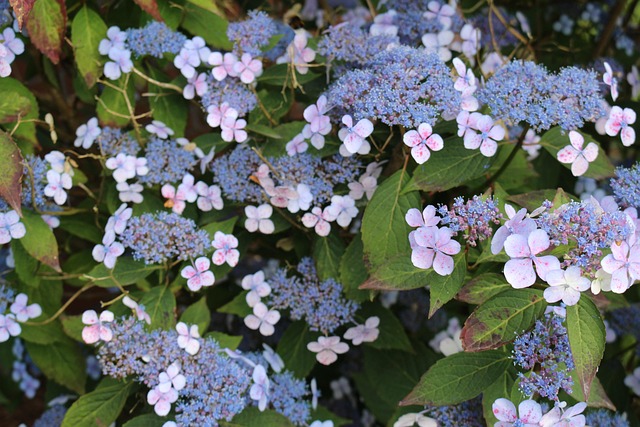
In this edition of the Lincoln County Gardner, host Ross McCann talks with Master Gardener Mary Jane Bonelitz about Hydrangeas (Hydrangea macrophylla and Hydrangea paniculata). The Oregon coast provides almost perfect conditions for this popular plant.
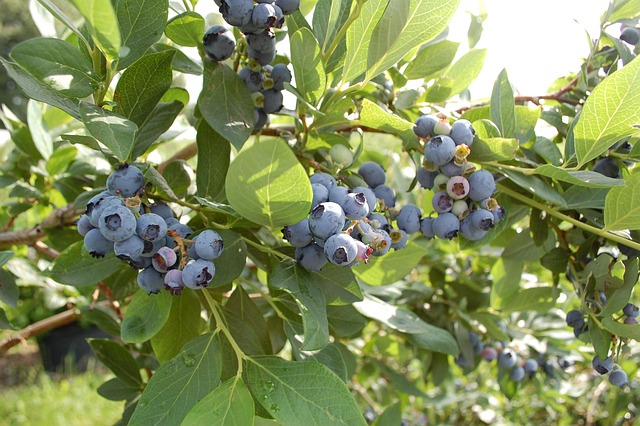
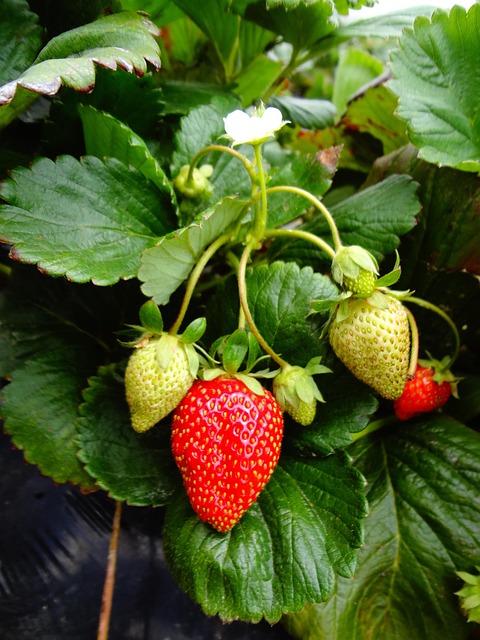
"Growing berries can be a rewarding experience; however, growing them on the Oregon Coast presents some unique challenges. You can grow delicious blueberries, strawberries, blackberries, raspberries, kiwifruit, table grapes, gooseberries, currants, and other berries provided you select cultivars (varieties) that are adapted to the coast region, and you establish and manage your plants to grow well and stay healthy."
Cassie Bouska, Emily Dixon, Bernadine Strik have created a 6-part guide to growing berries on the Oregon Coast. This series is part of the OSU Extension Catalog. Click on the link below and start with "Growing Berries on the Oregon Coast: An Overview," then choose your berry!
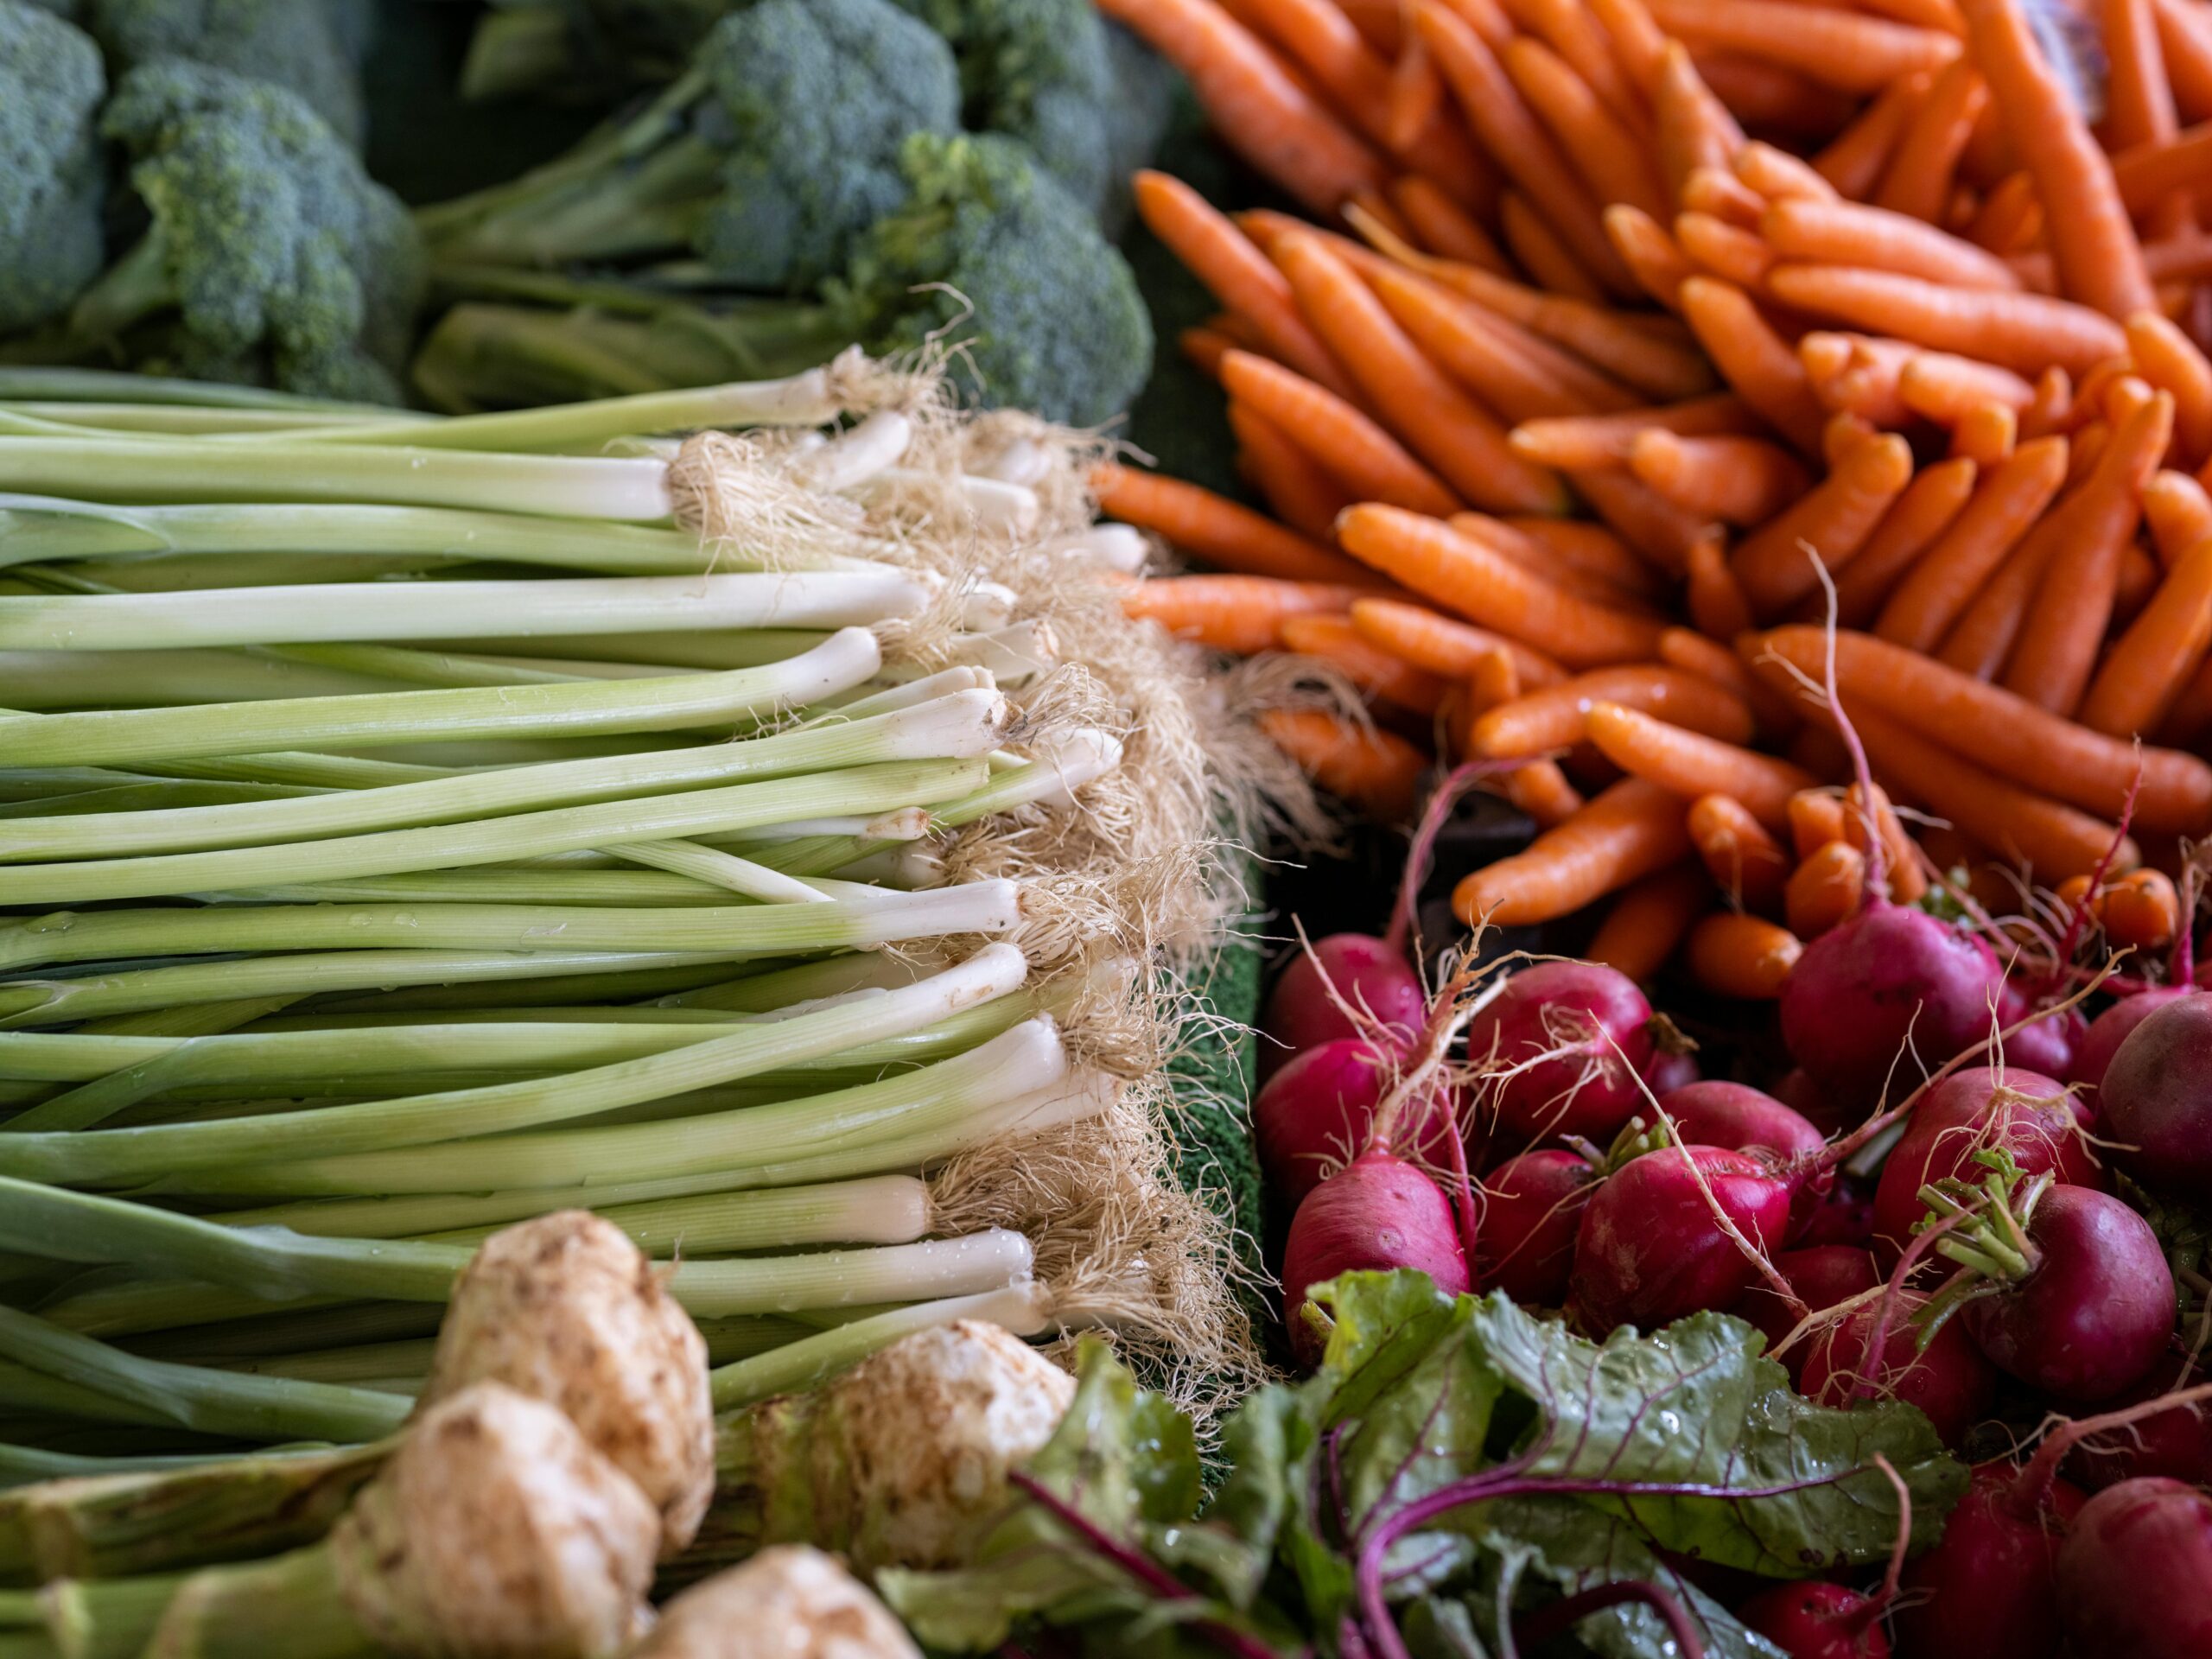
"The coastal climate of Oregon offers both opportunities and challenges for home vegetable gardeners. Mild temperatures, ample rainfall and cool summers support many crops, especially those that thrive in cooler conditions. Wind, fog and limited sunlight mean variety selection and protection are important."
Lincoln County Master Gardener™ Sally Reill (with help from local Master Gardeners Sharon Busby and Carita Edson) compiled the ultimate grower's guide which has recently been promoted as an OSU Extension Catalog timeless classic. Click on the link below to read the detailed article.
Get your seed catalogs out and pick things you know will grow:
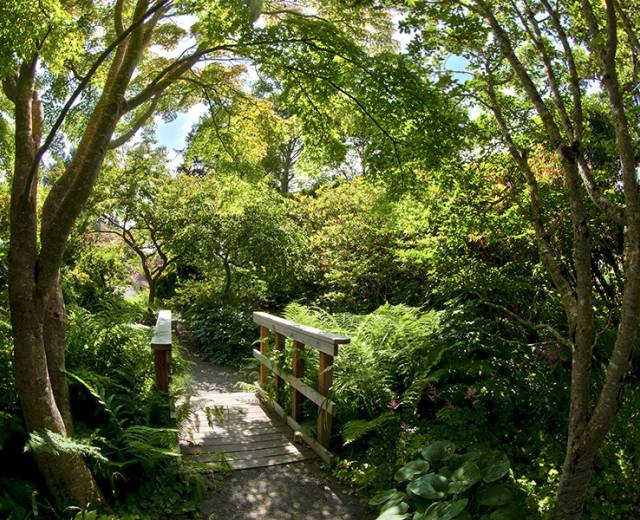
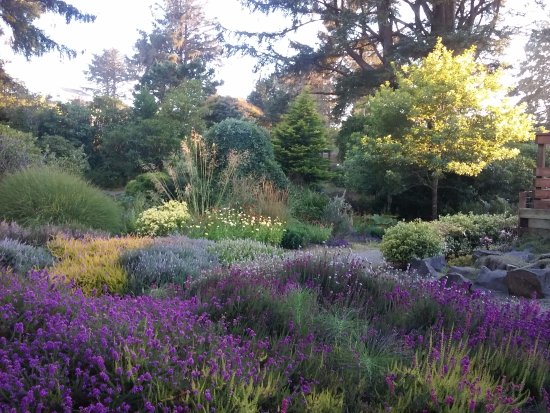
In this edition of the Lincoln County Gardner, host Ross McCann talks with Master Gardeners Cheri Rice and Terry DeJongh. They volunteer at Lincoln City's treasure, the Connie Hansen Garden.
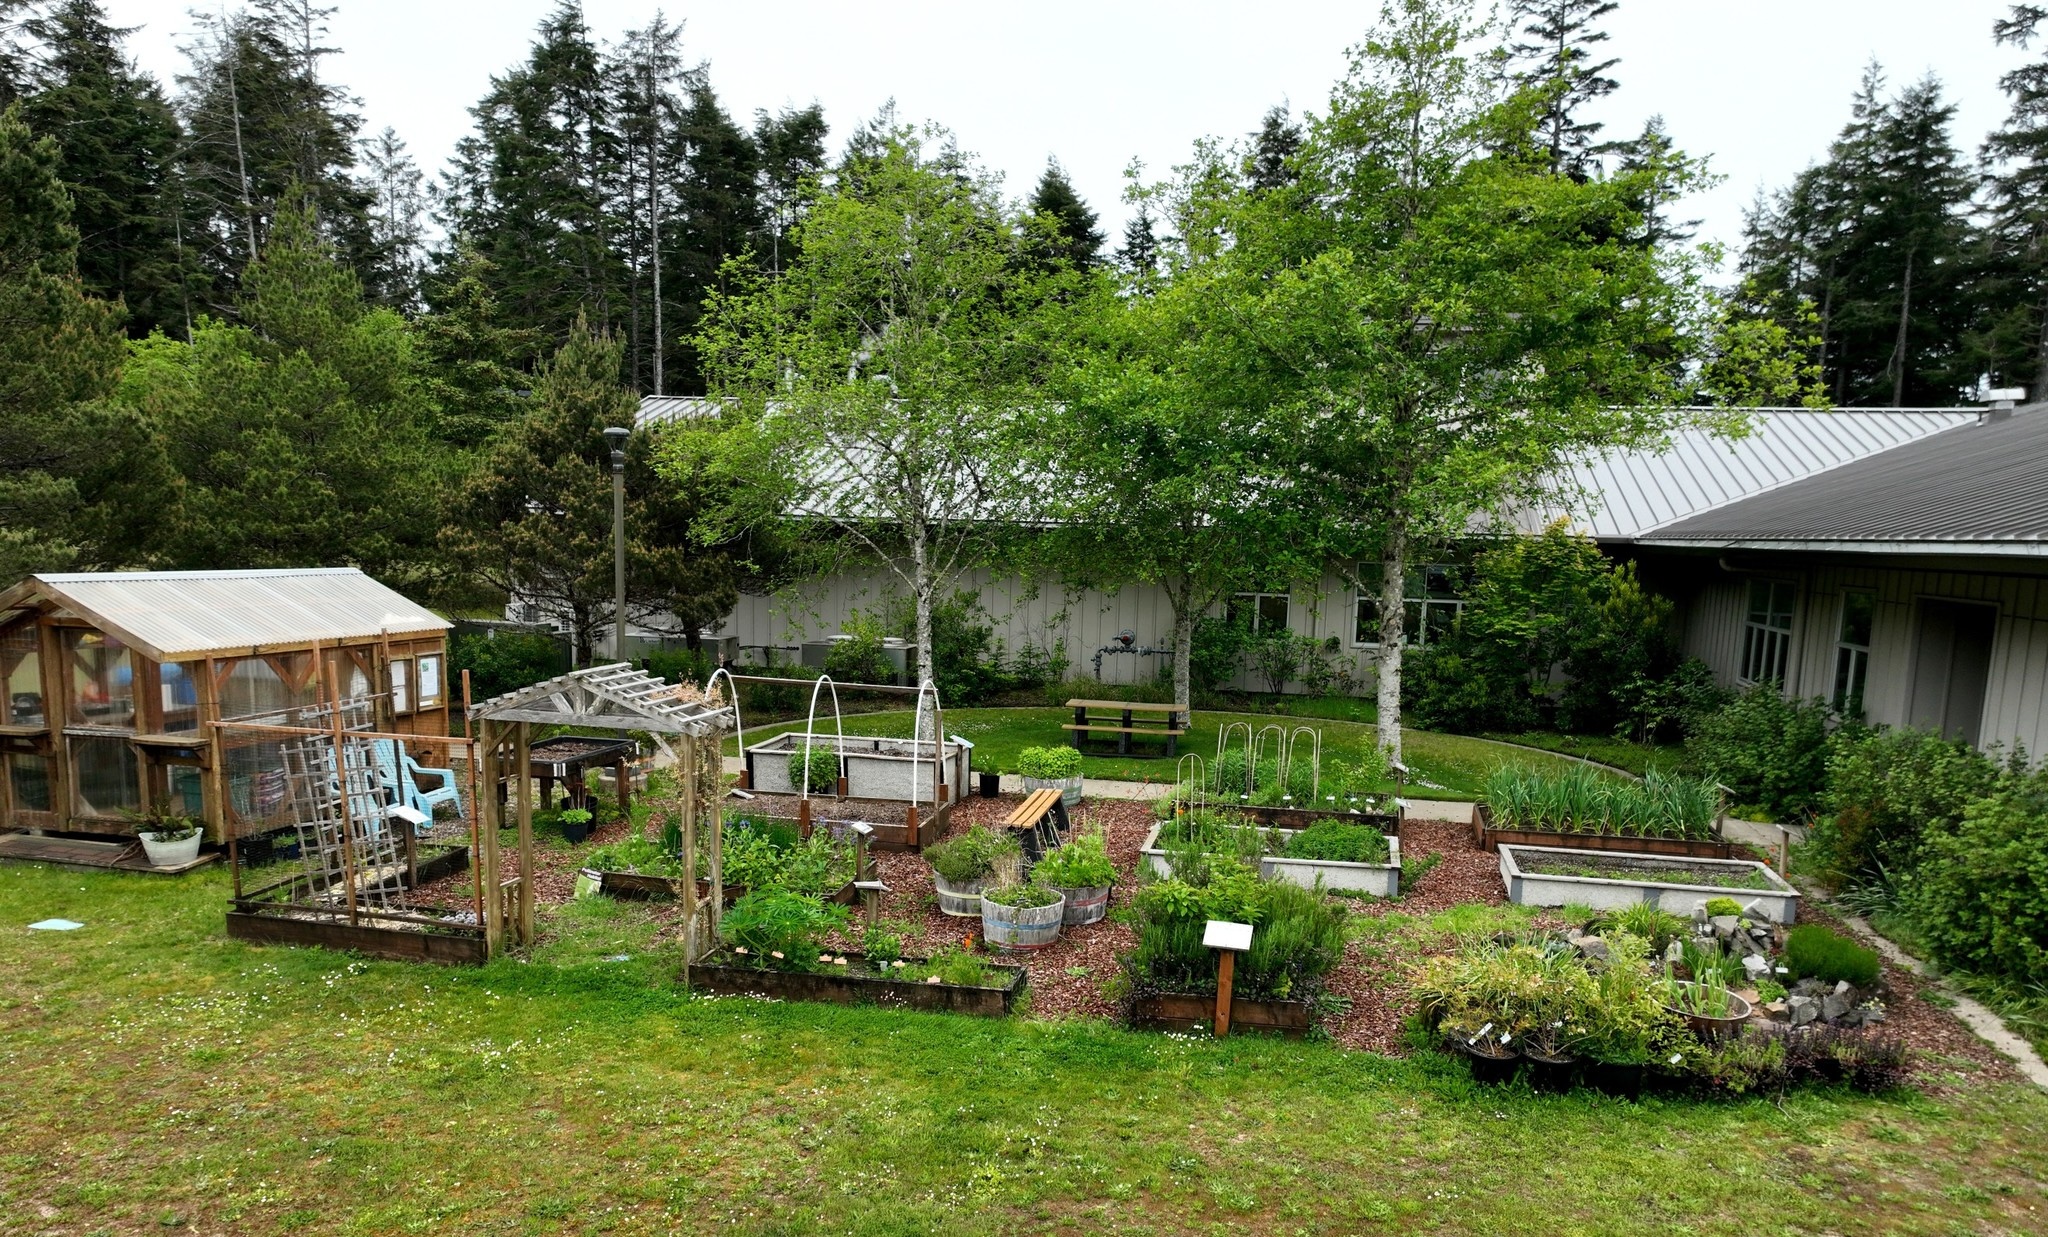
In this edition of the Lincoln County Gardner, host Ross McCann talks with Master Gardener Joan Crall, Co-Lead at the OSU Demonstration Garden in South Beach. You'll learn about the garden, its exhibits and the many events to be held in 2026.
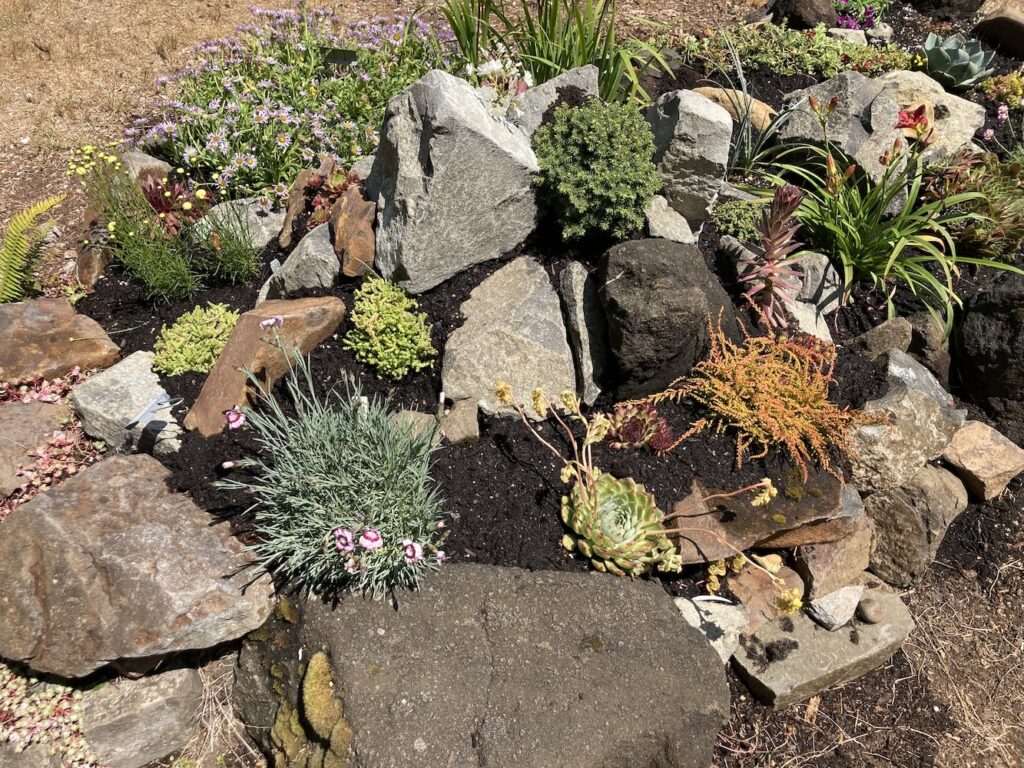
The raised bed of garlic at the South Beach Demonstration Garden. All images by garden Co-Lead Steve Vogel, with permission.Rock Garden Exhibit